Elegant Collection
Products
Portfolio

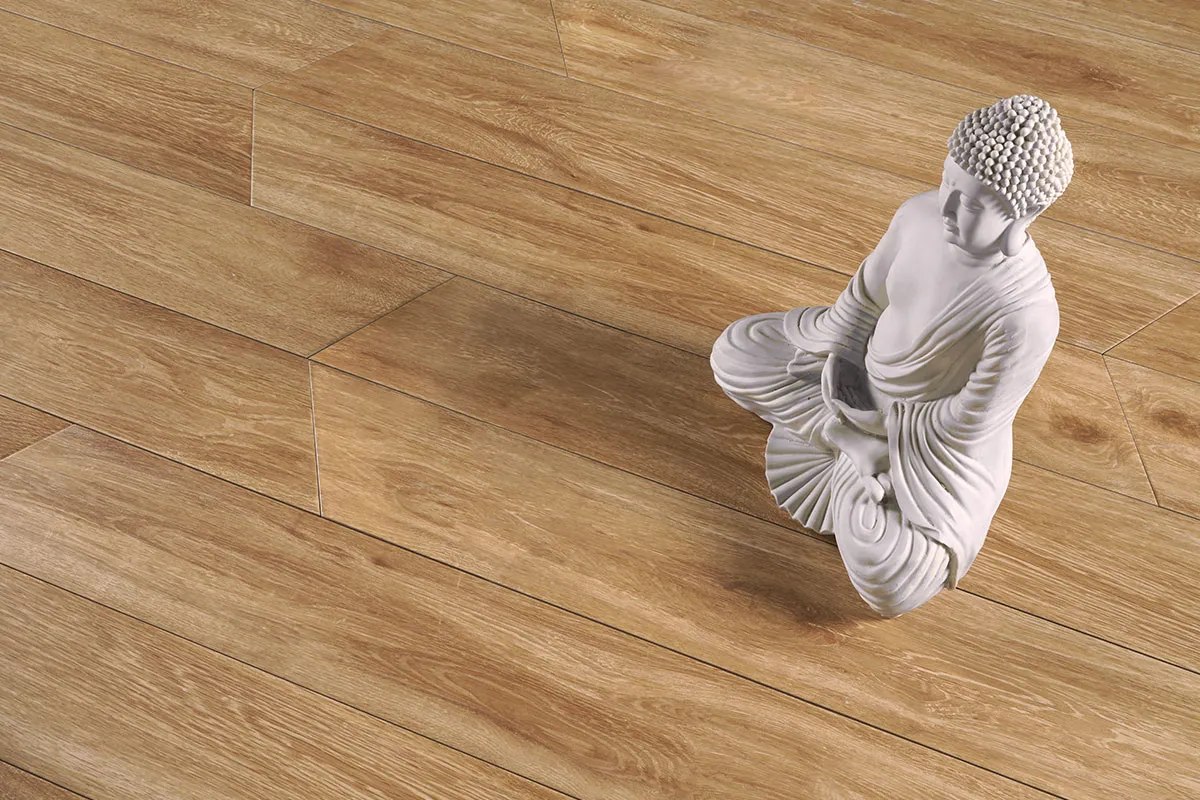
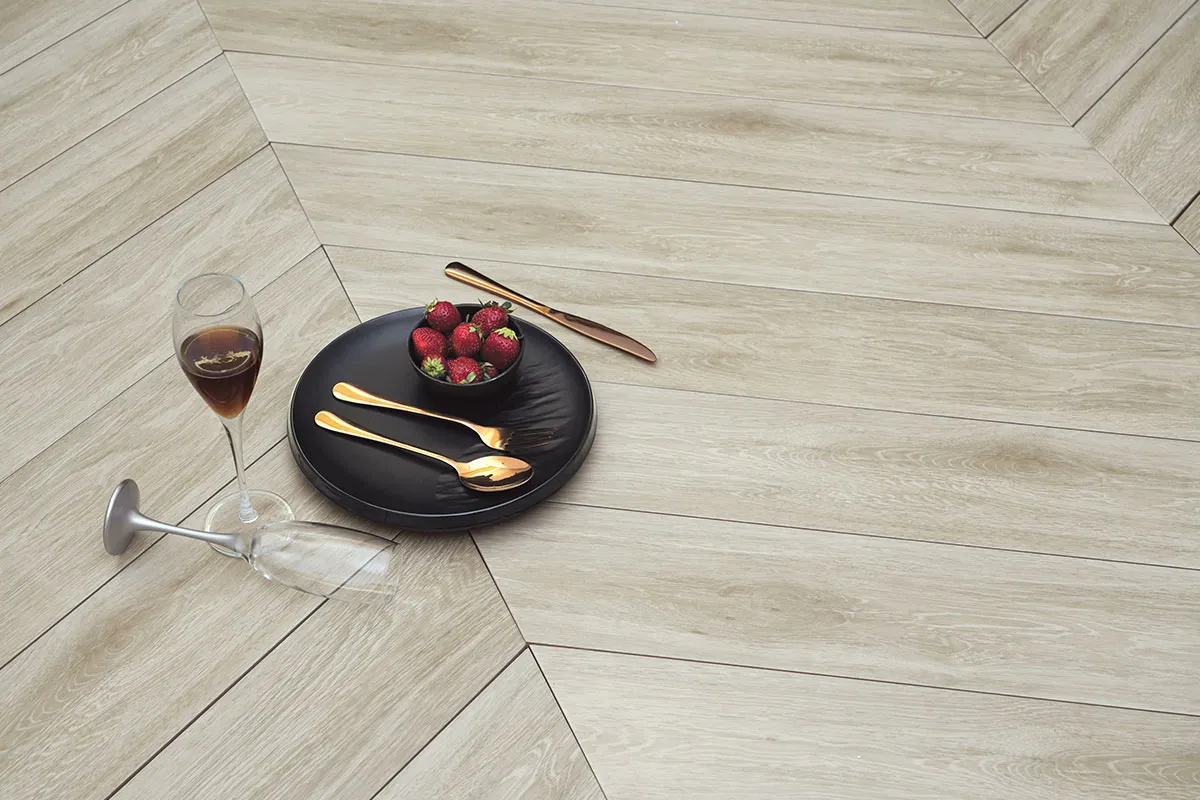

Wood Colors


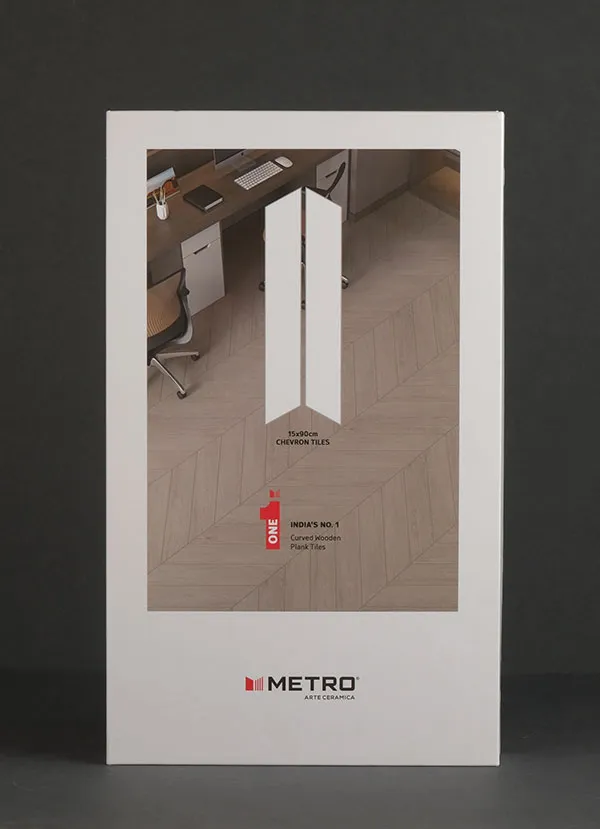
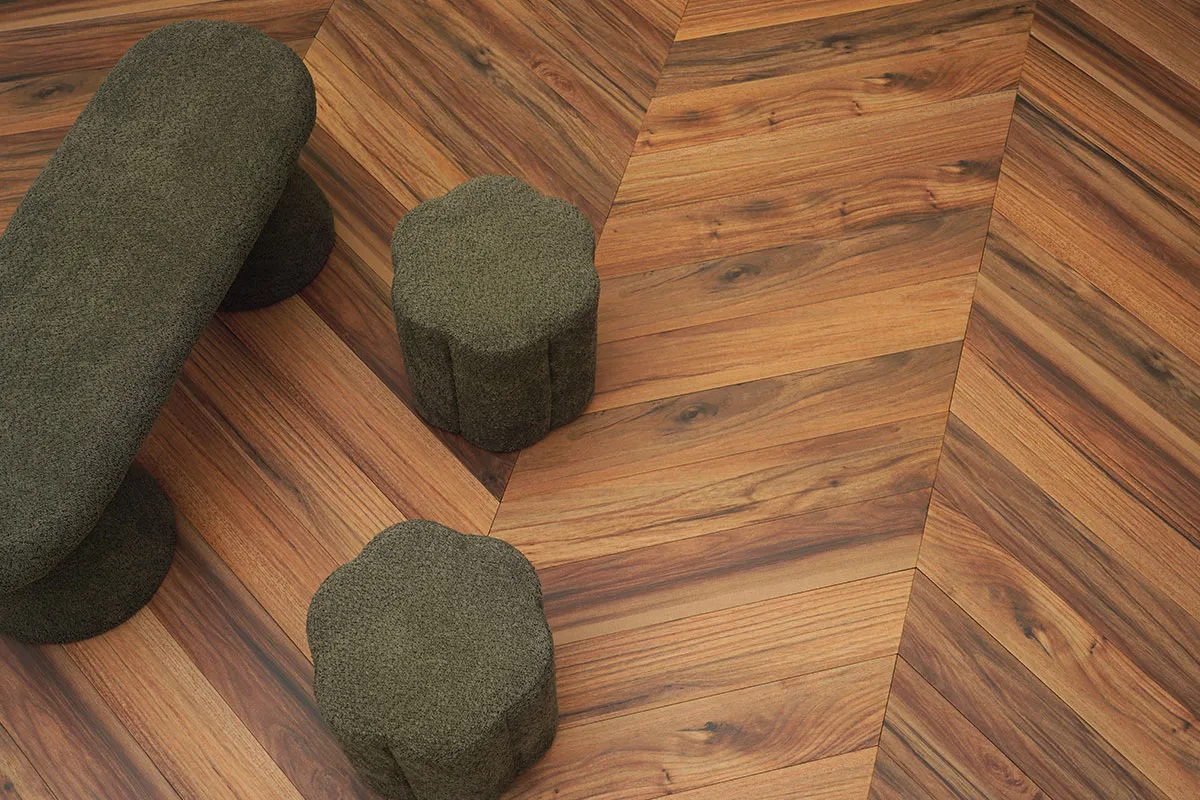
Chevron
Tile Laying Guide
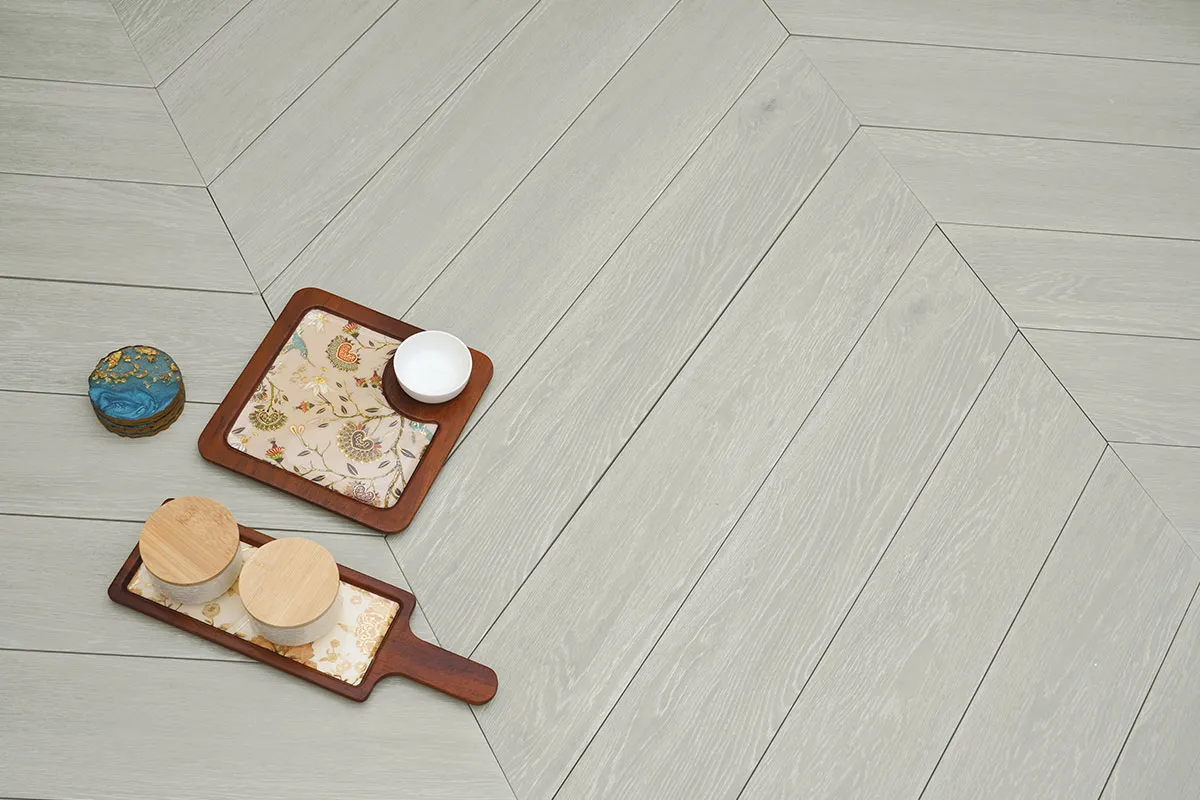
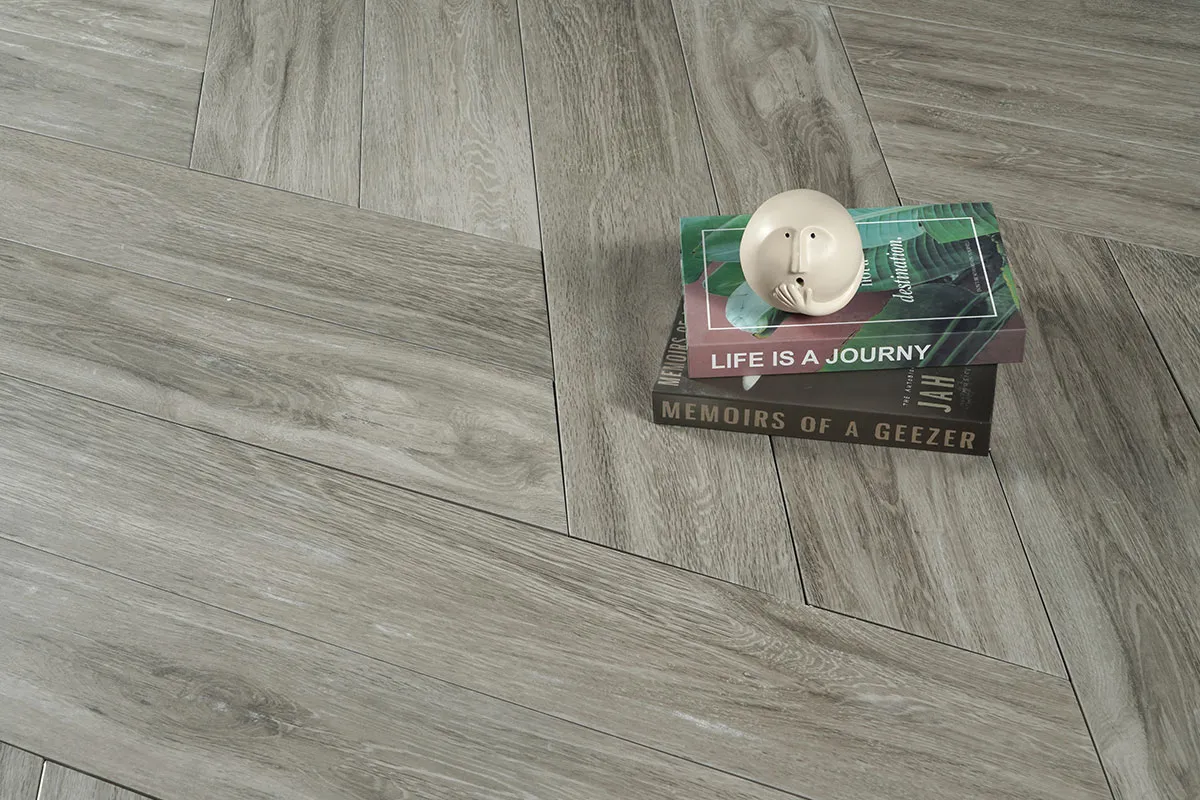
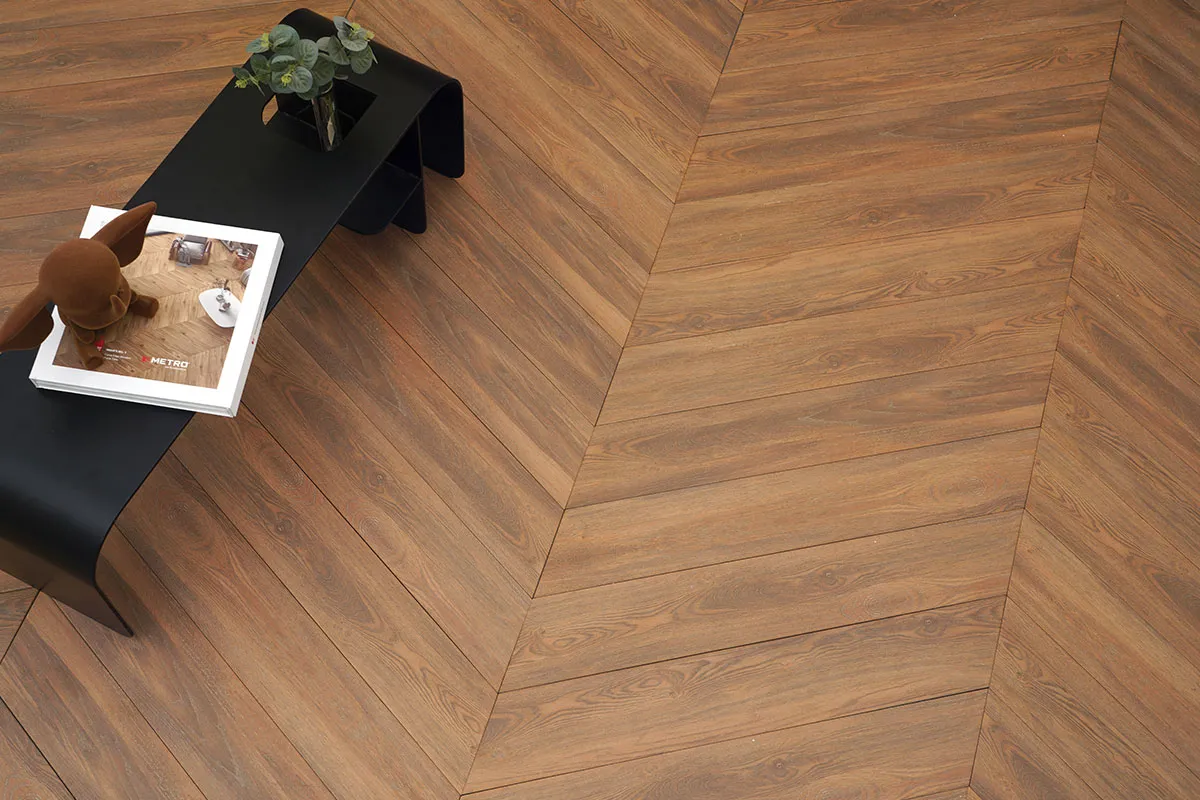
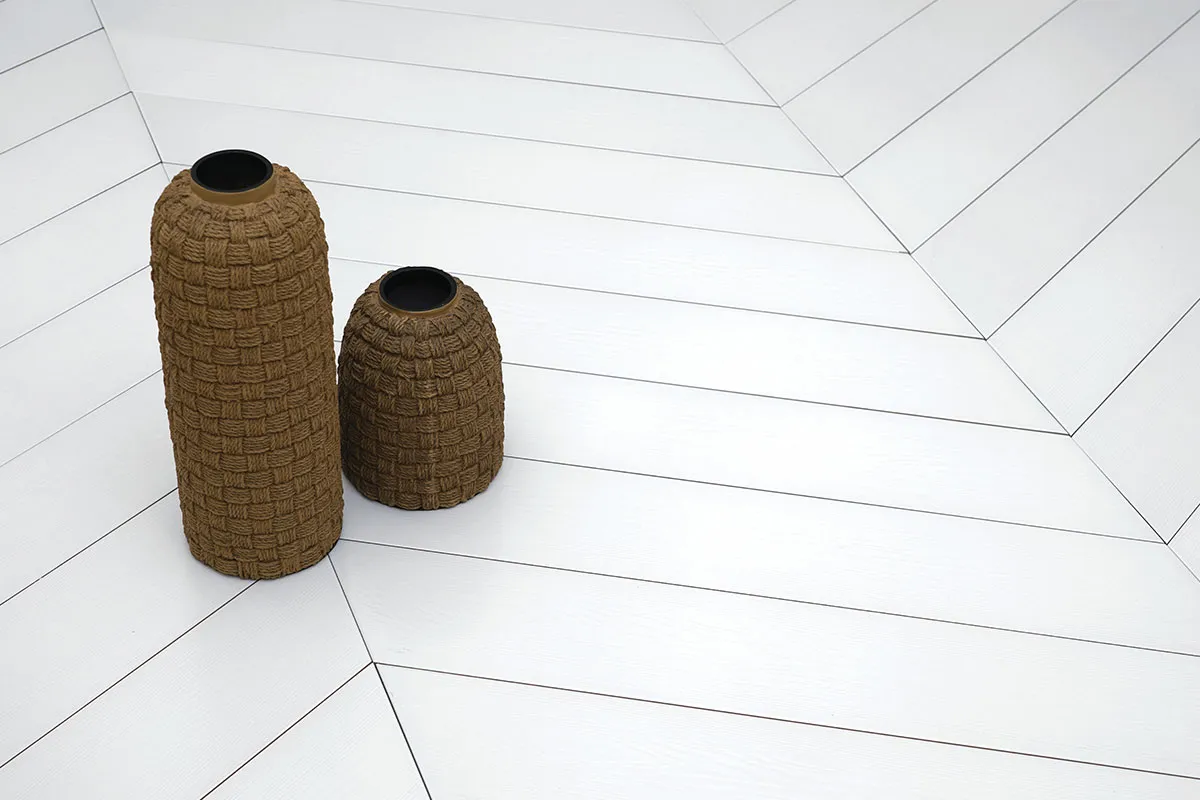
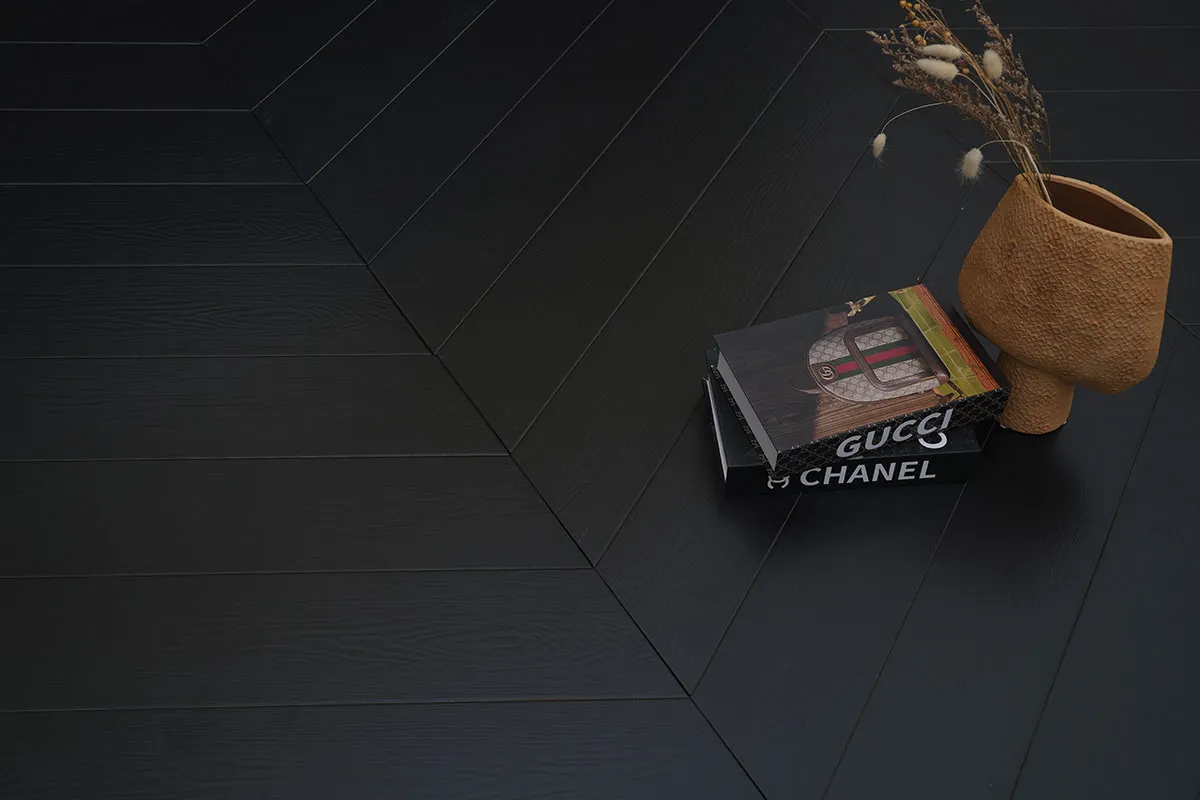
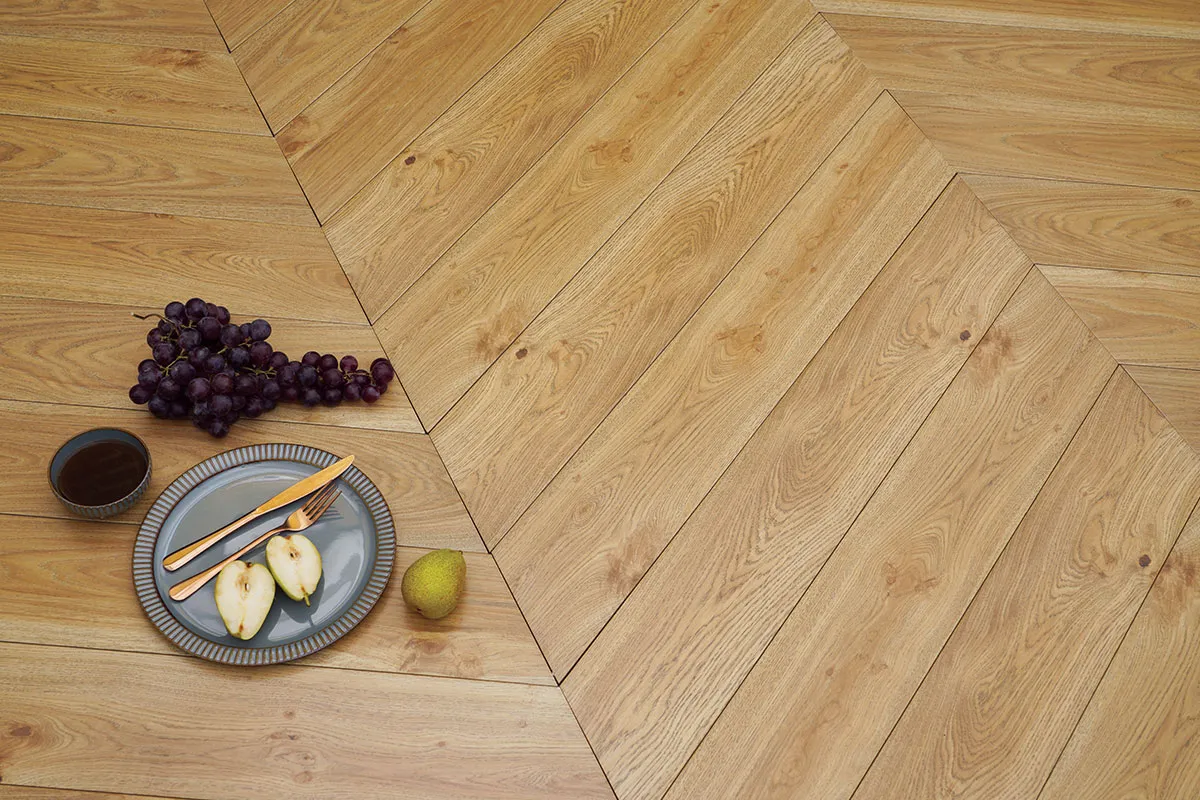
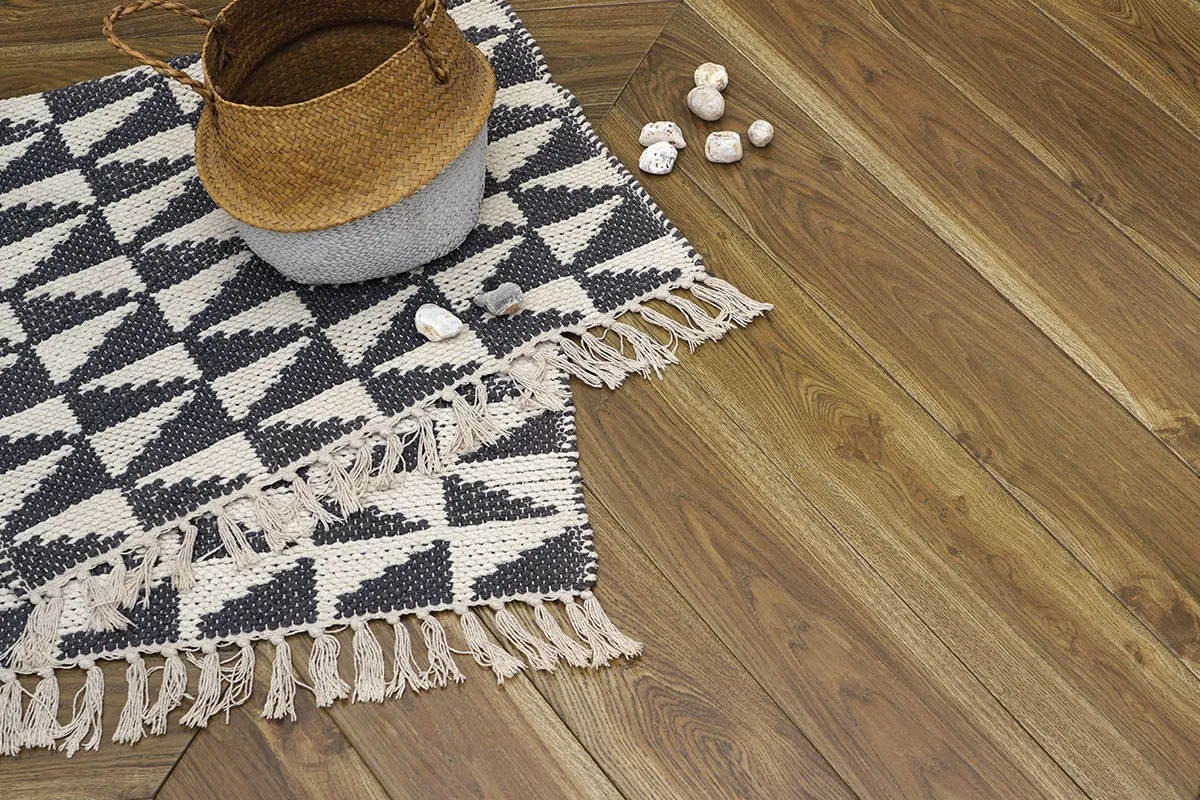
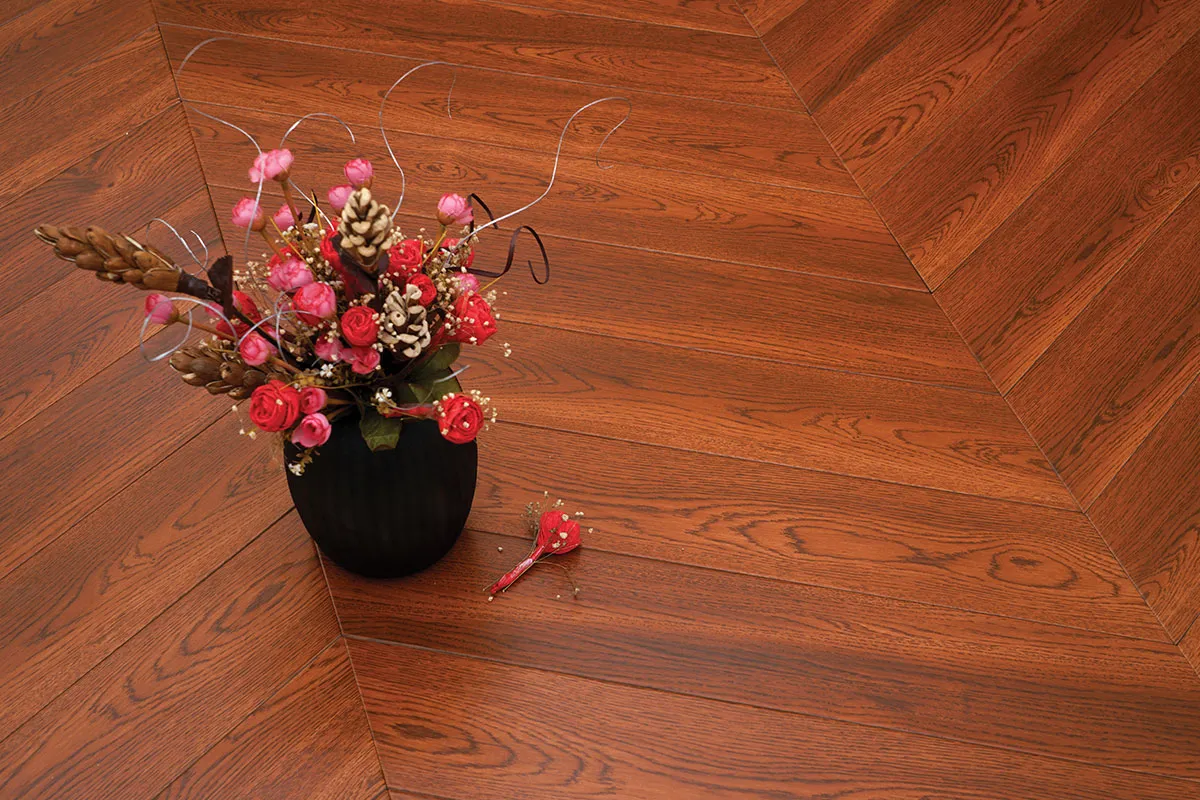
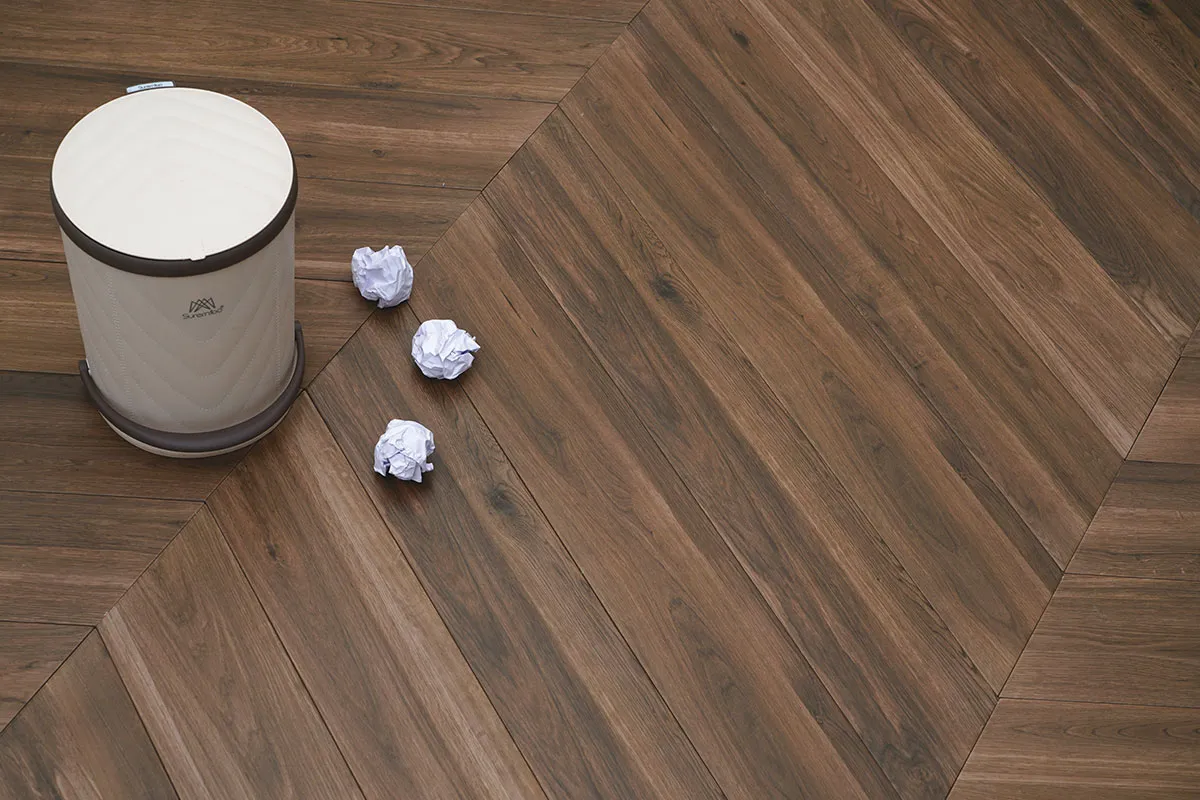
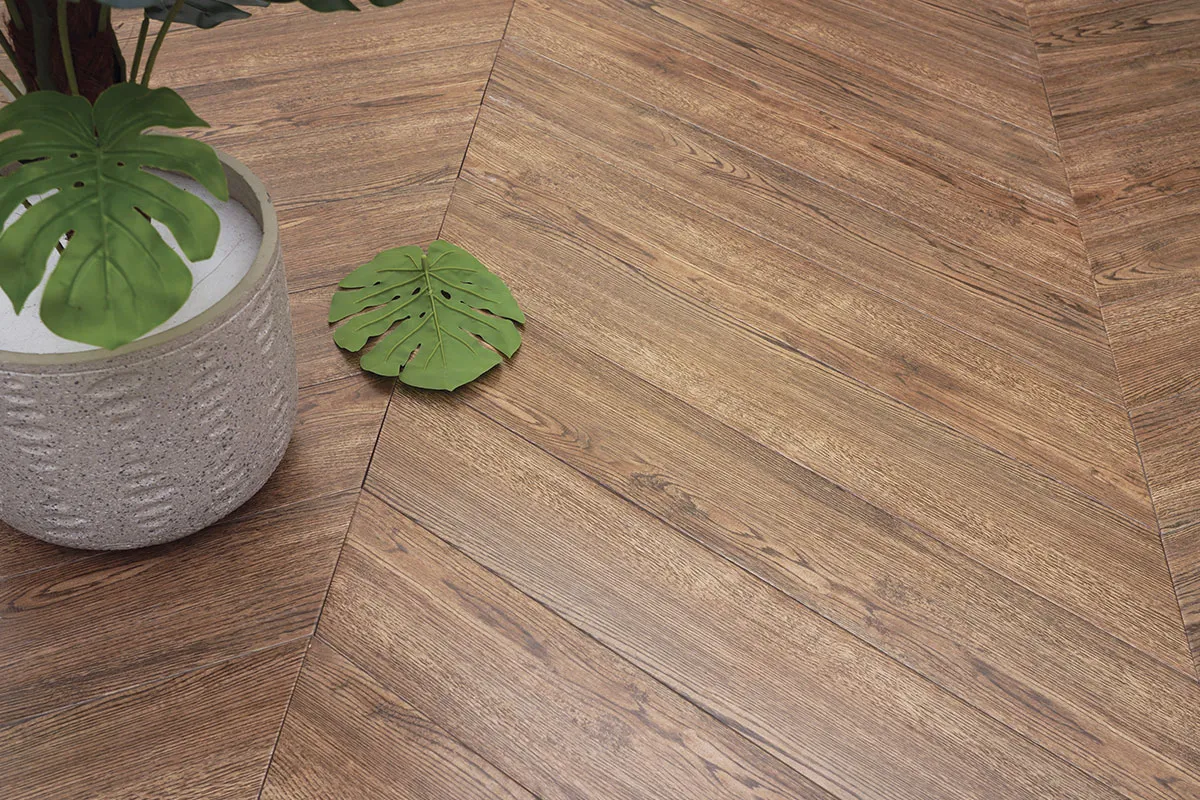
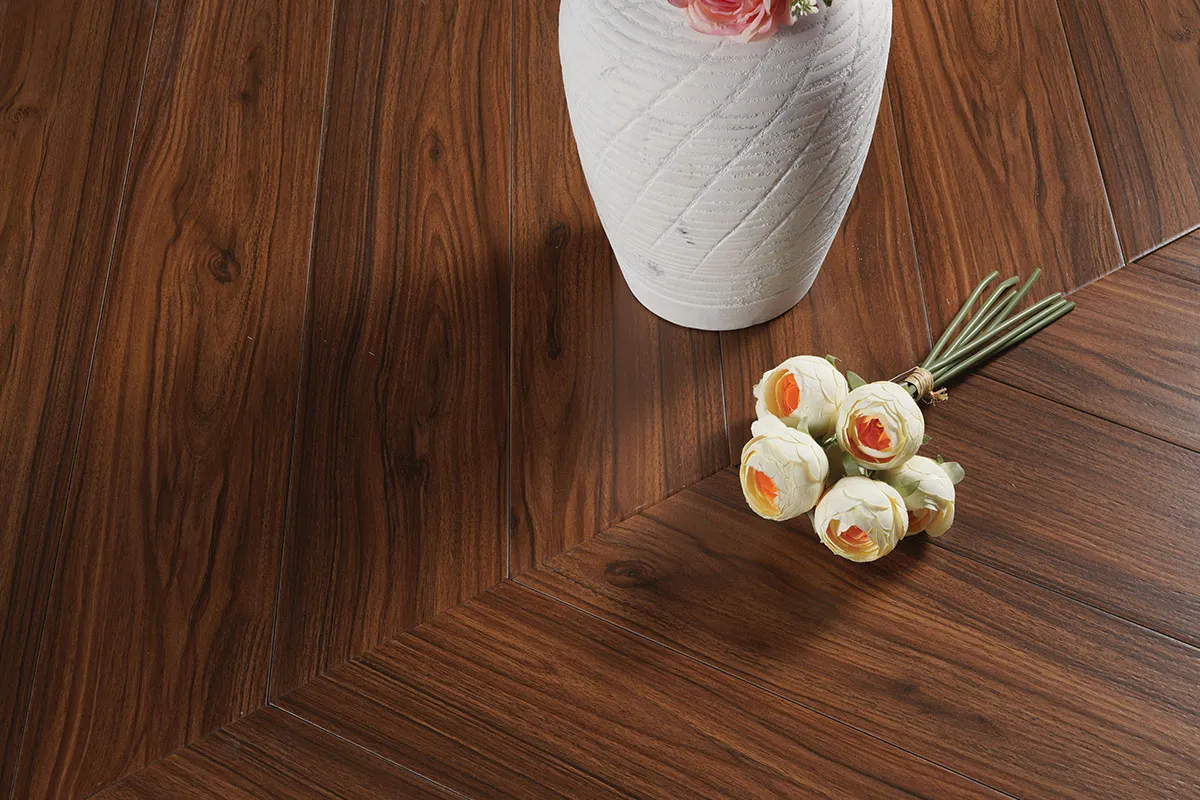
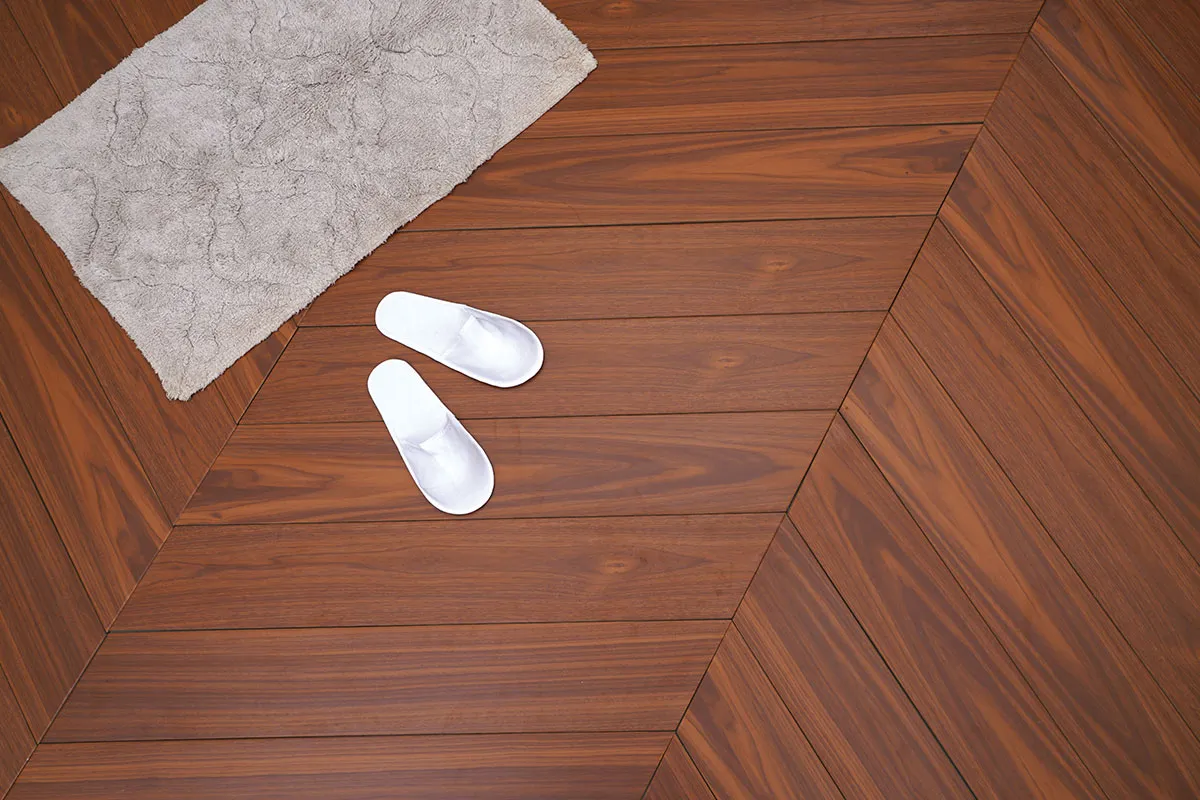
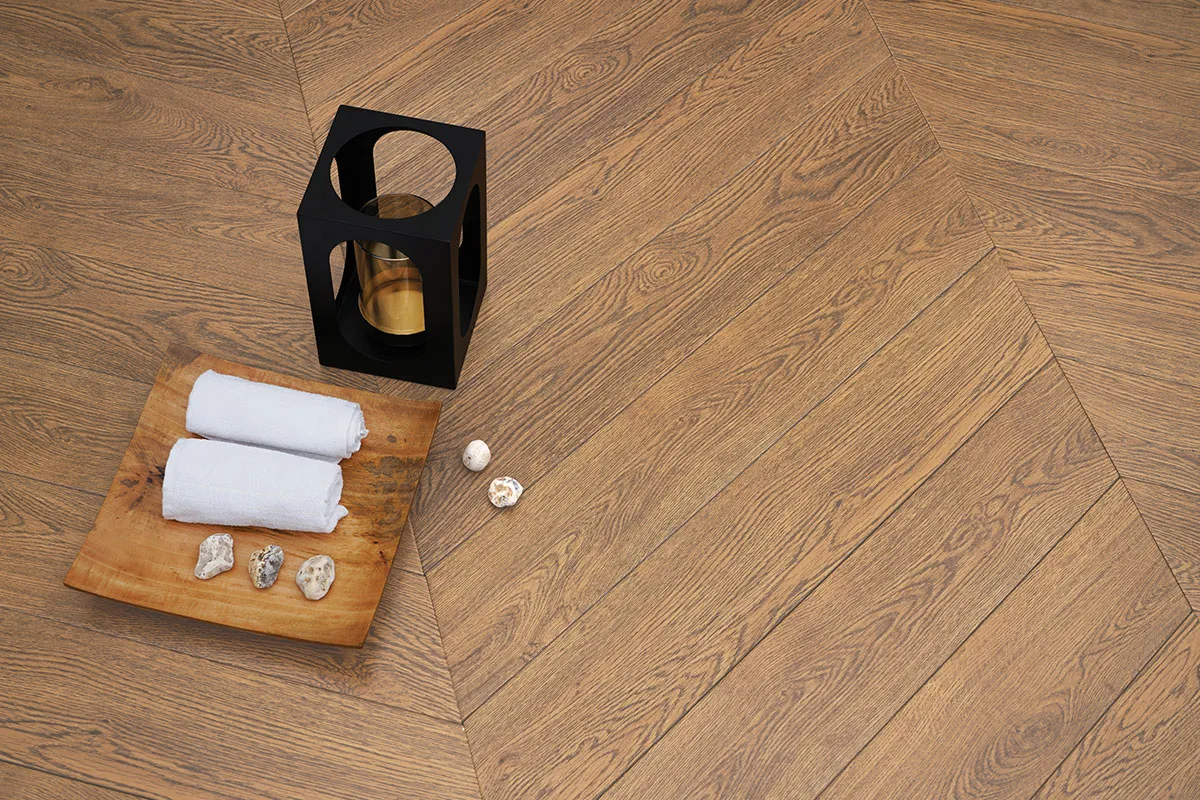
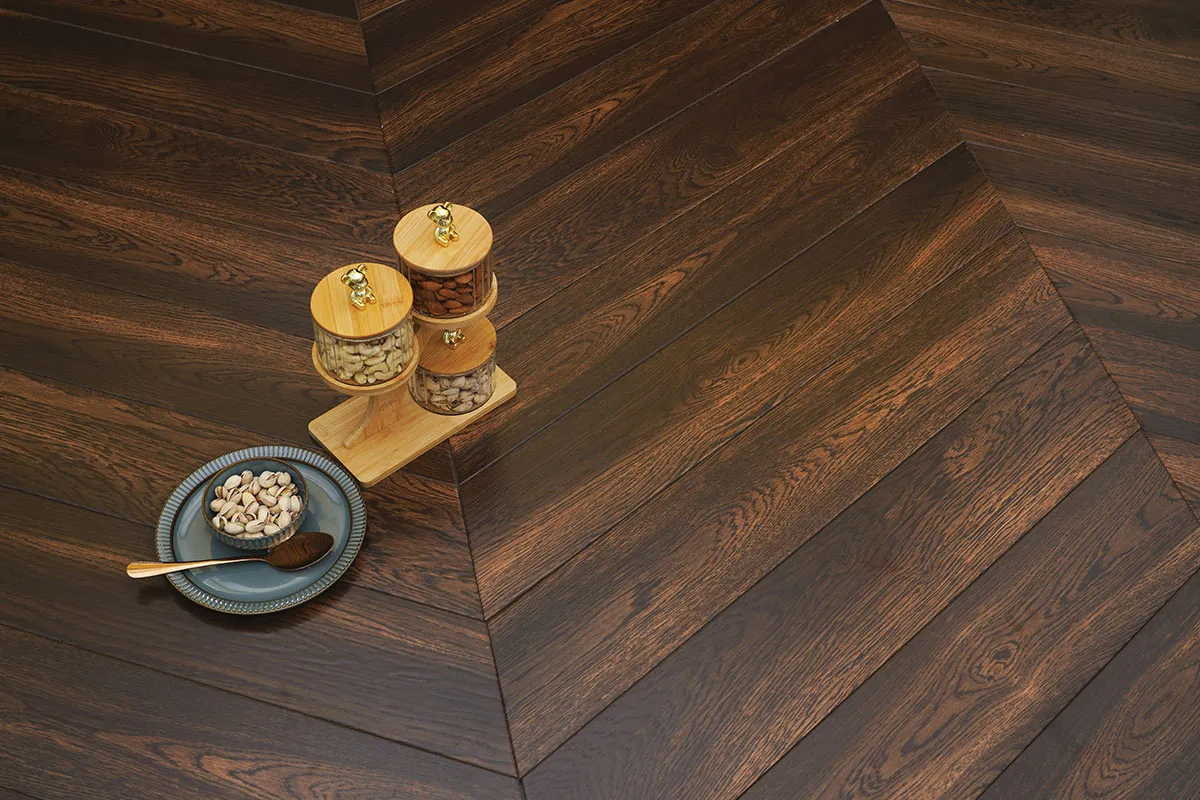
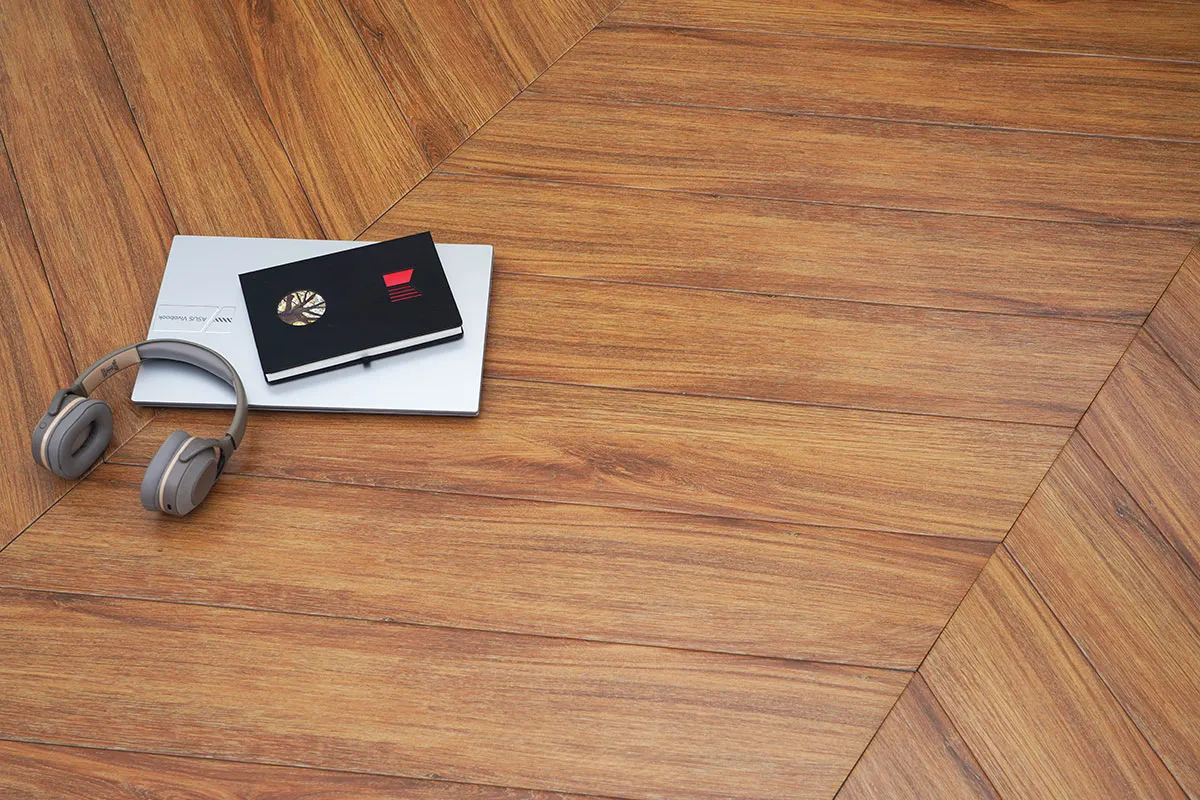
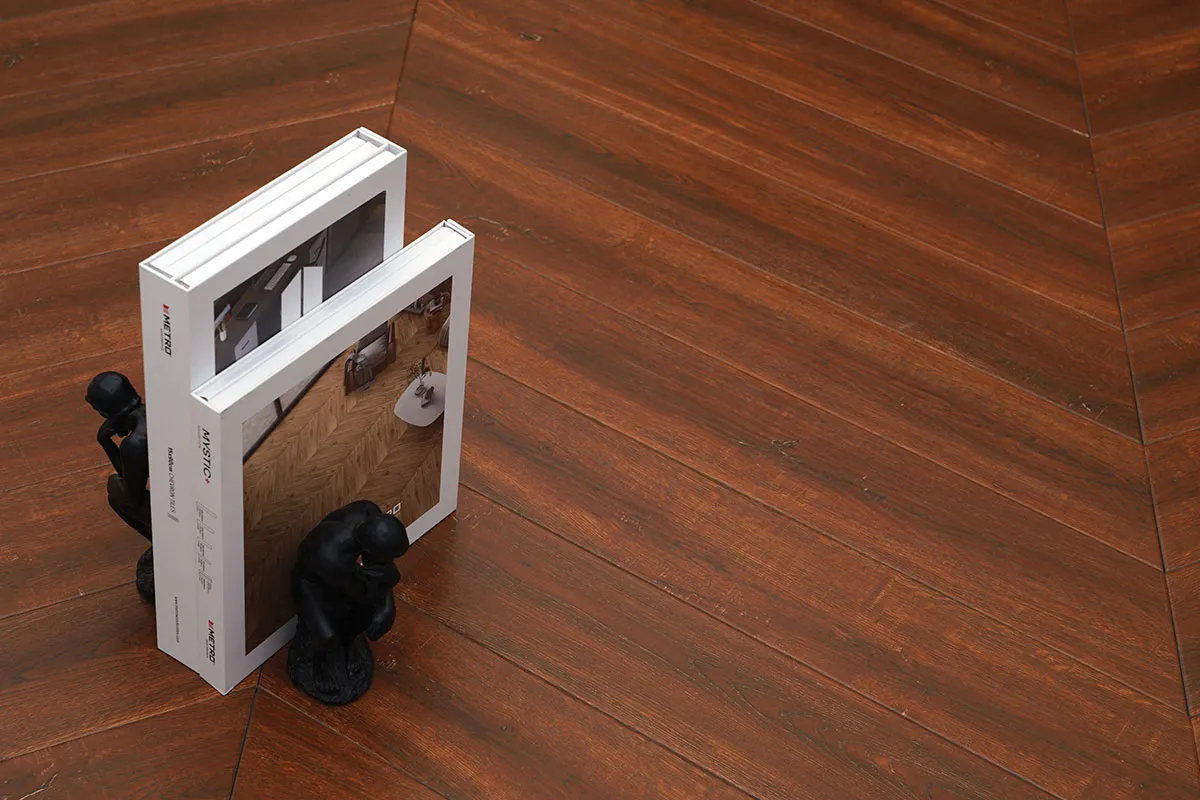
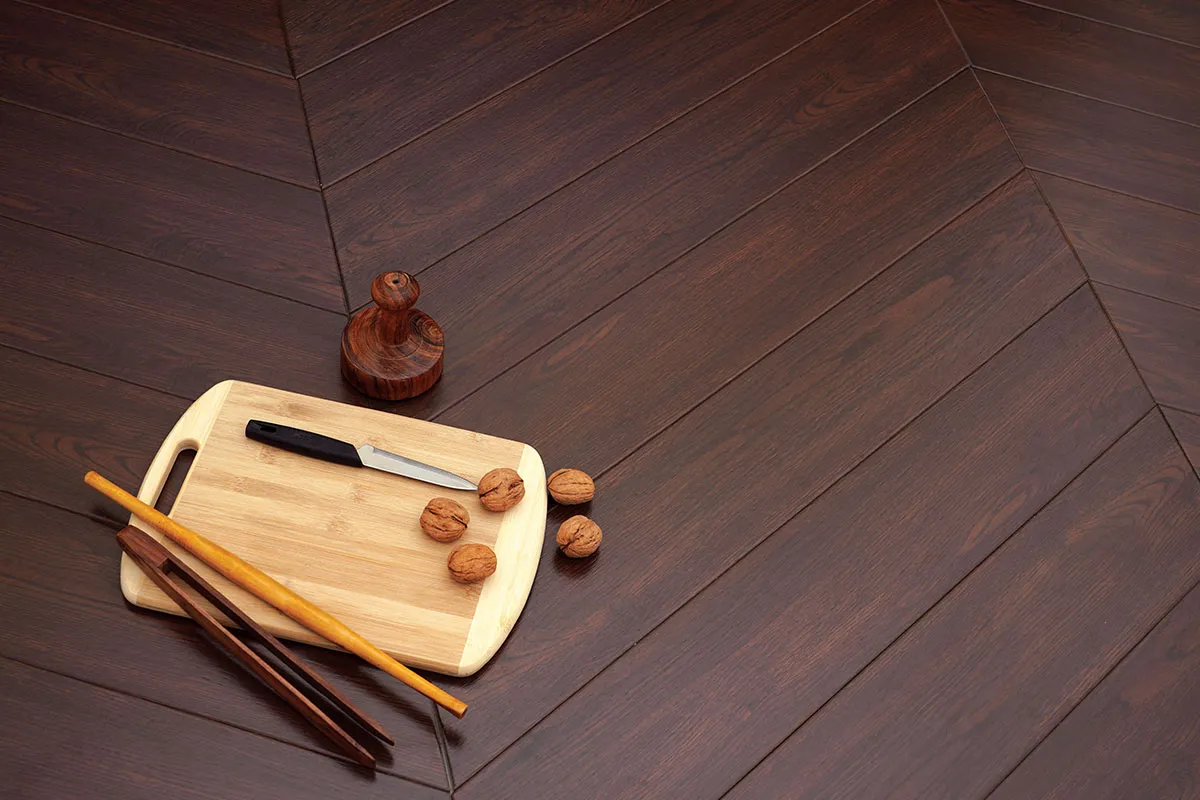
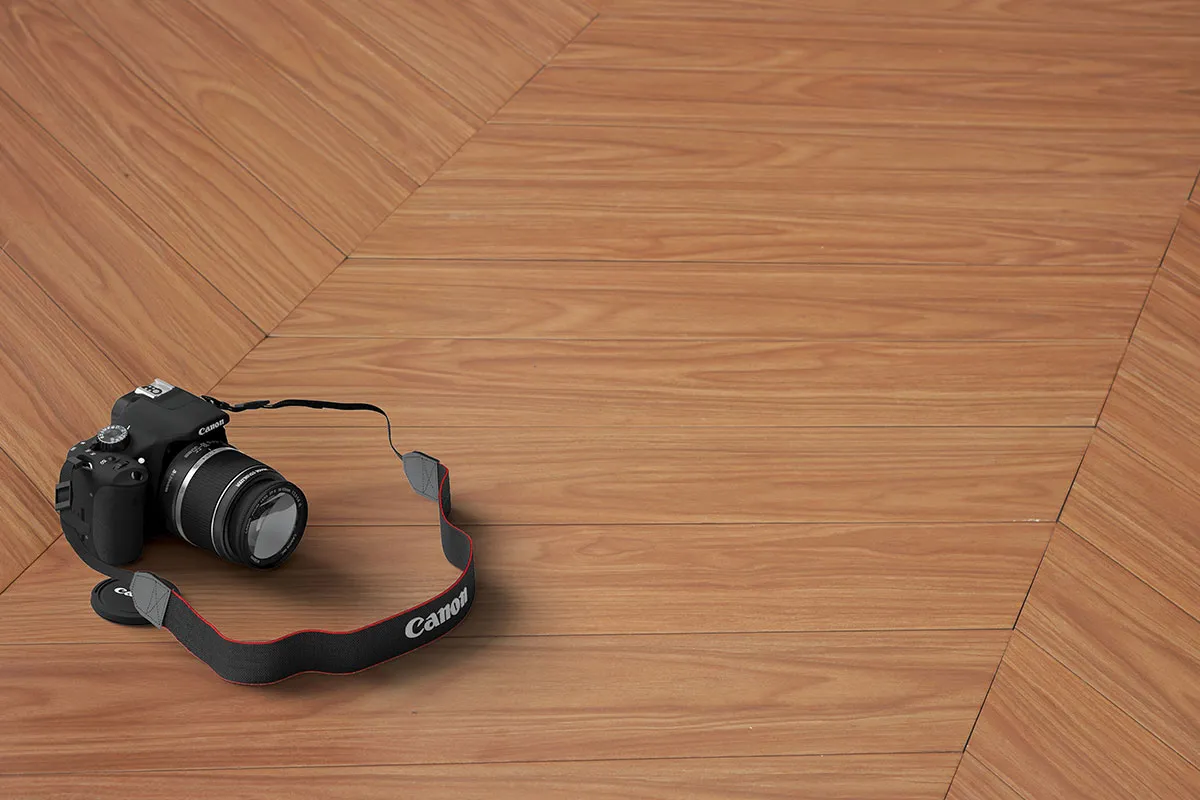
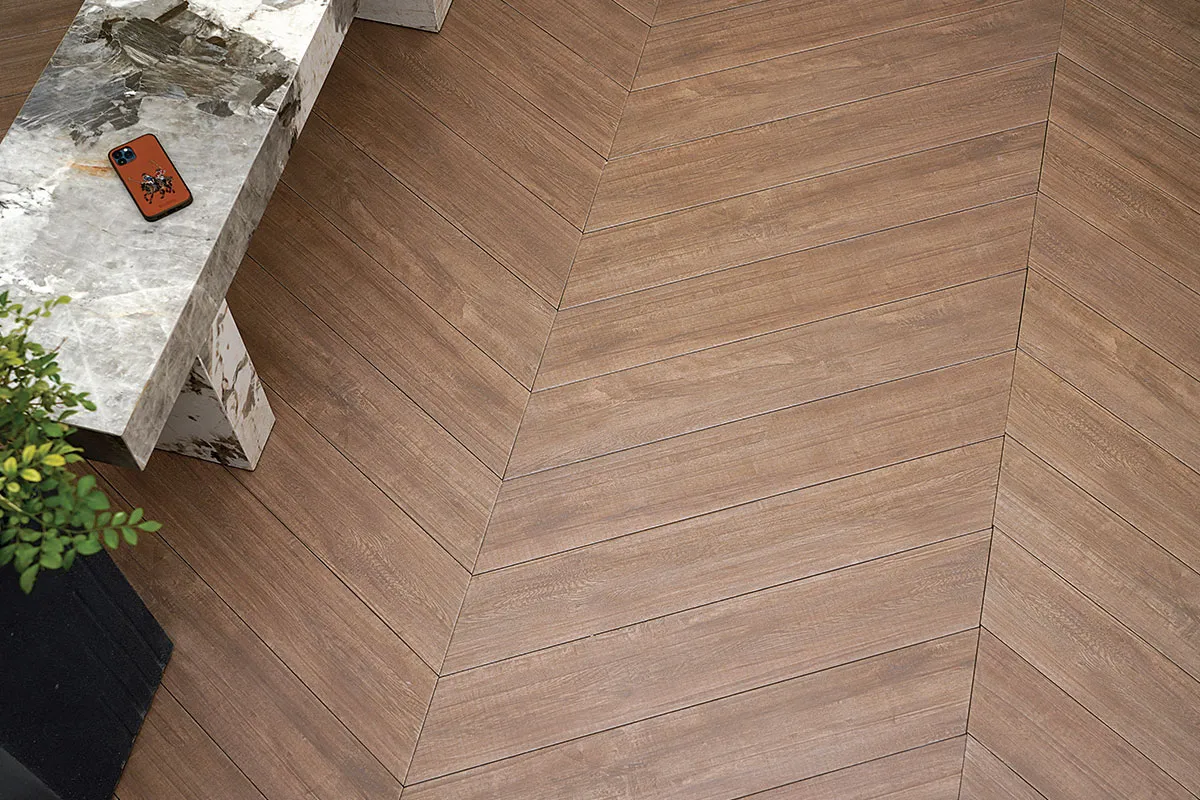
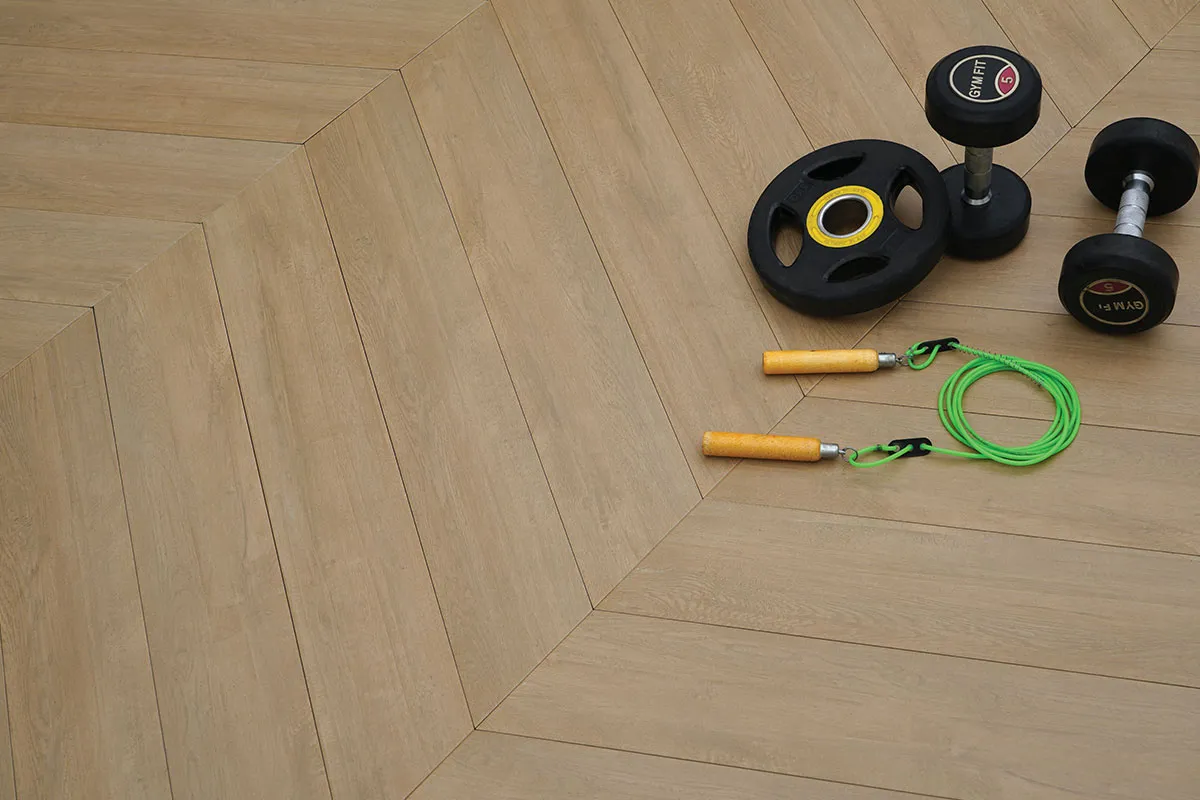
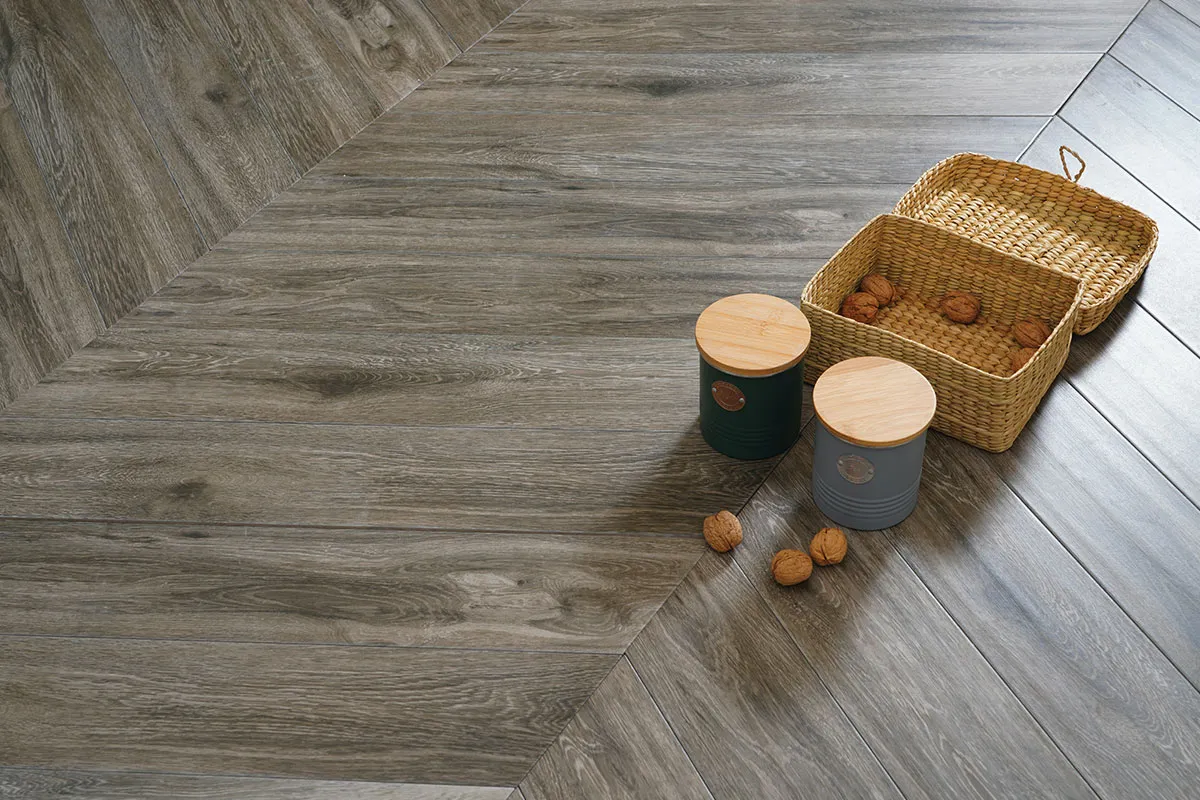
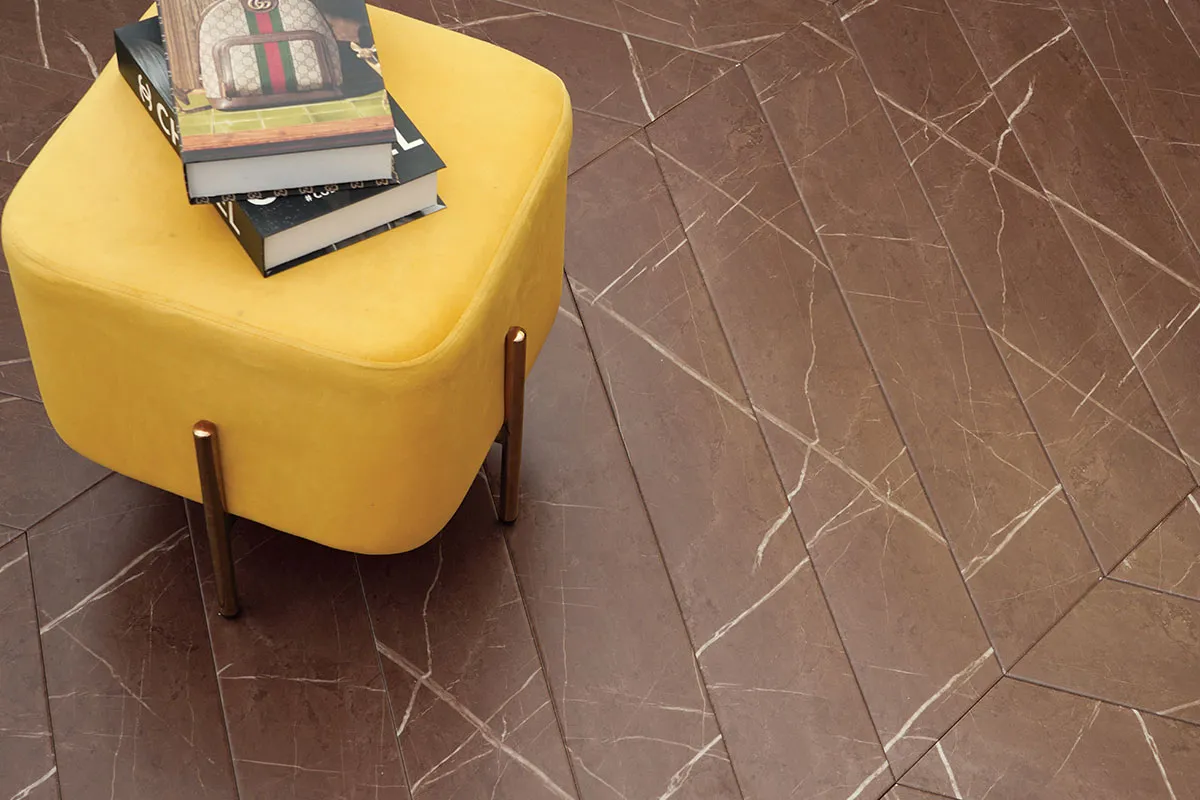
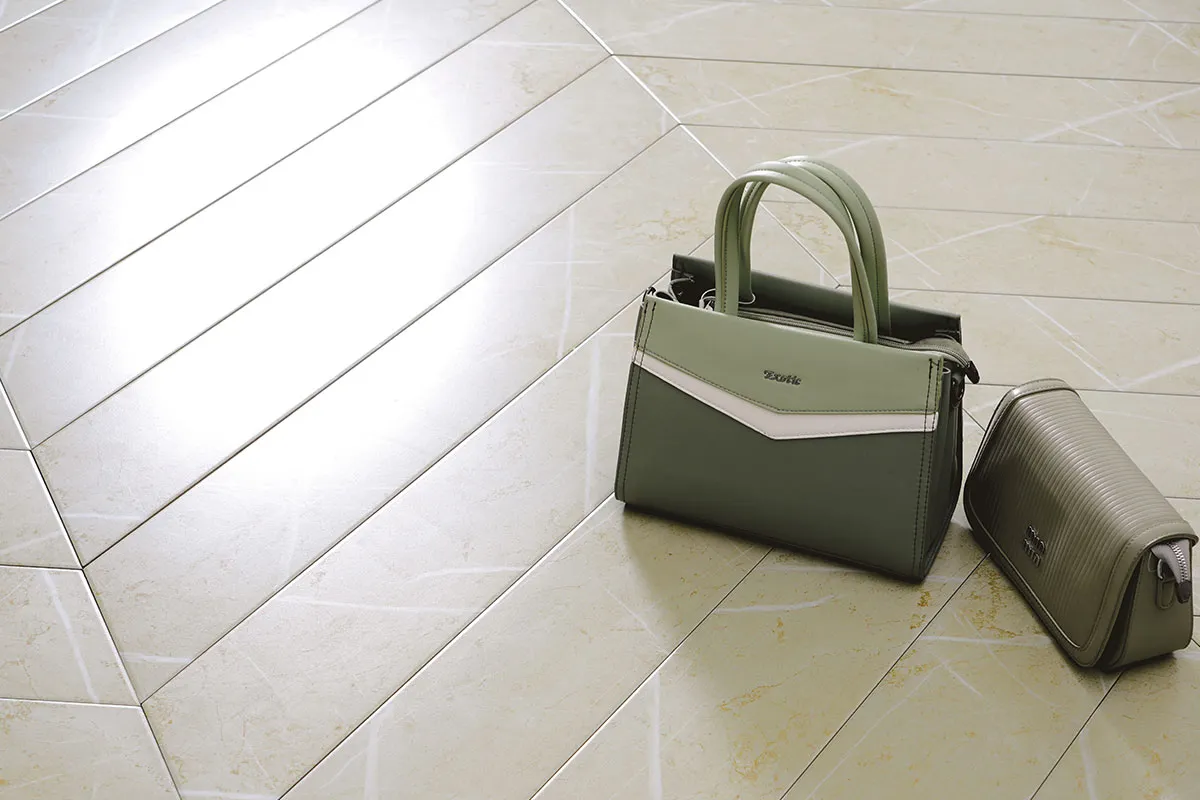
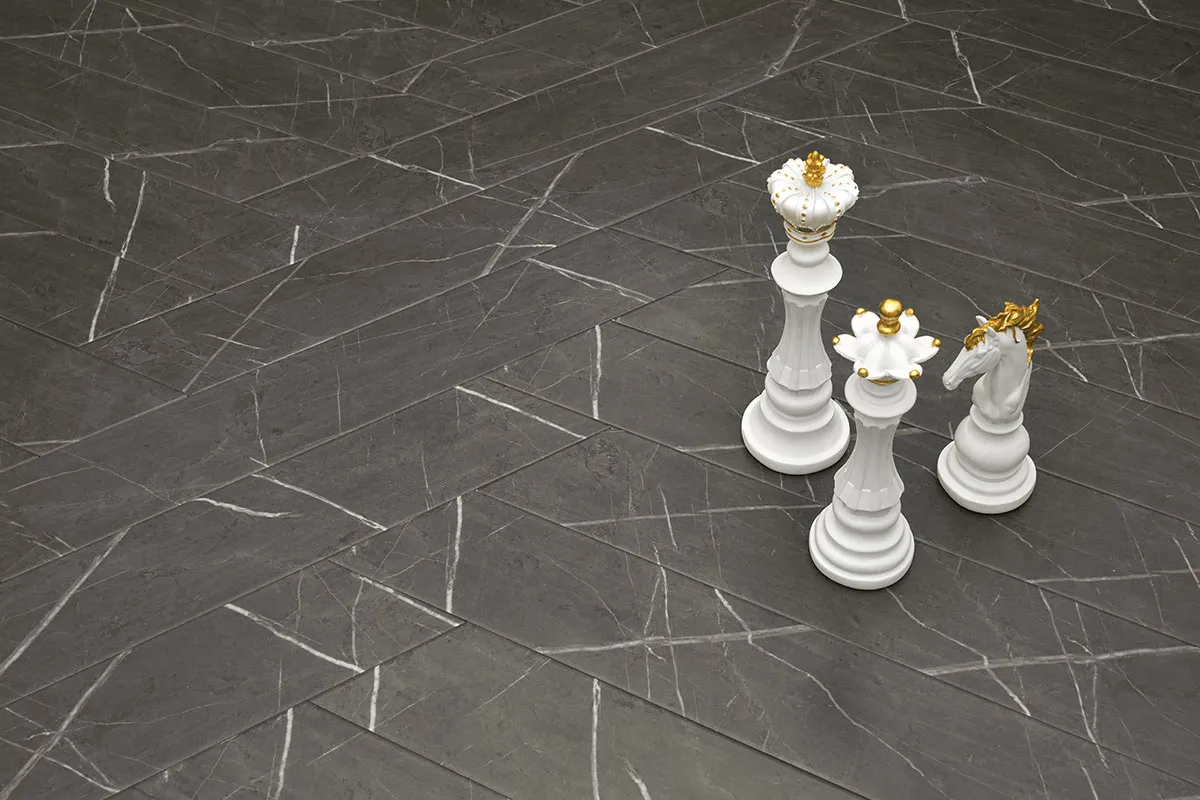
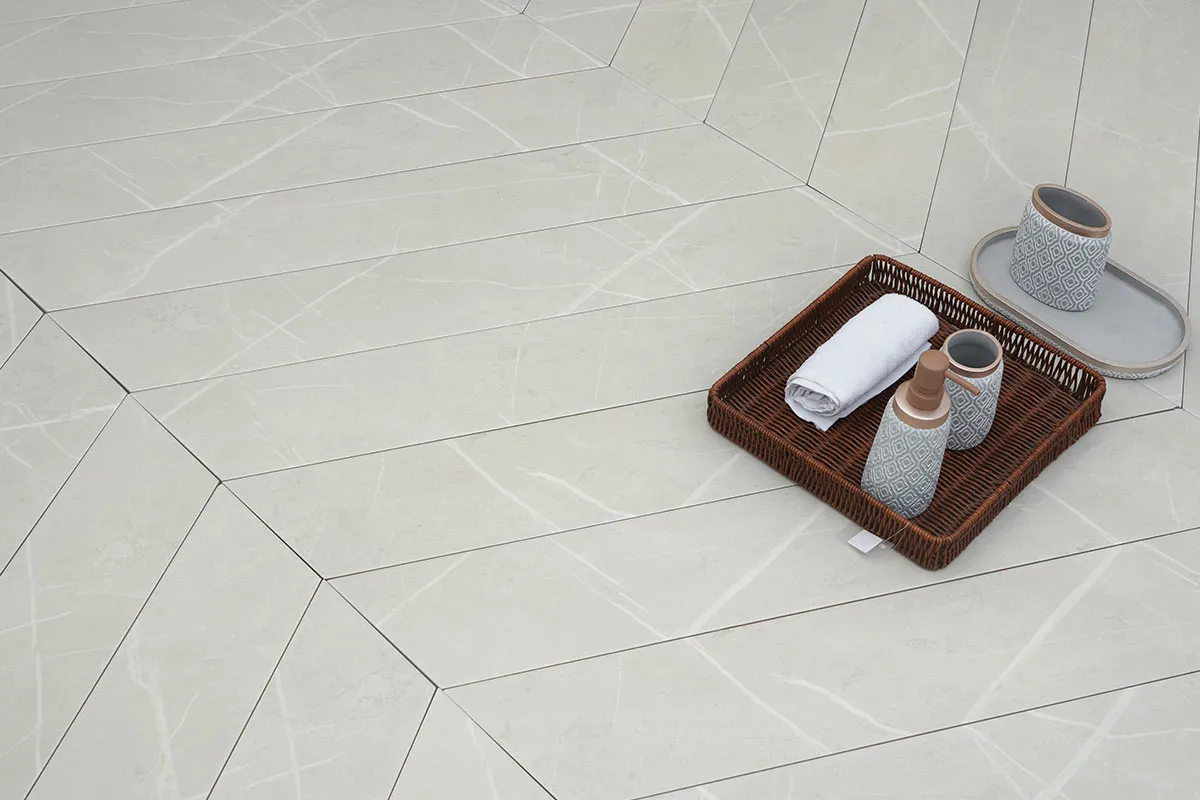
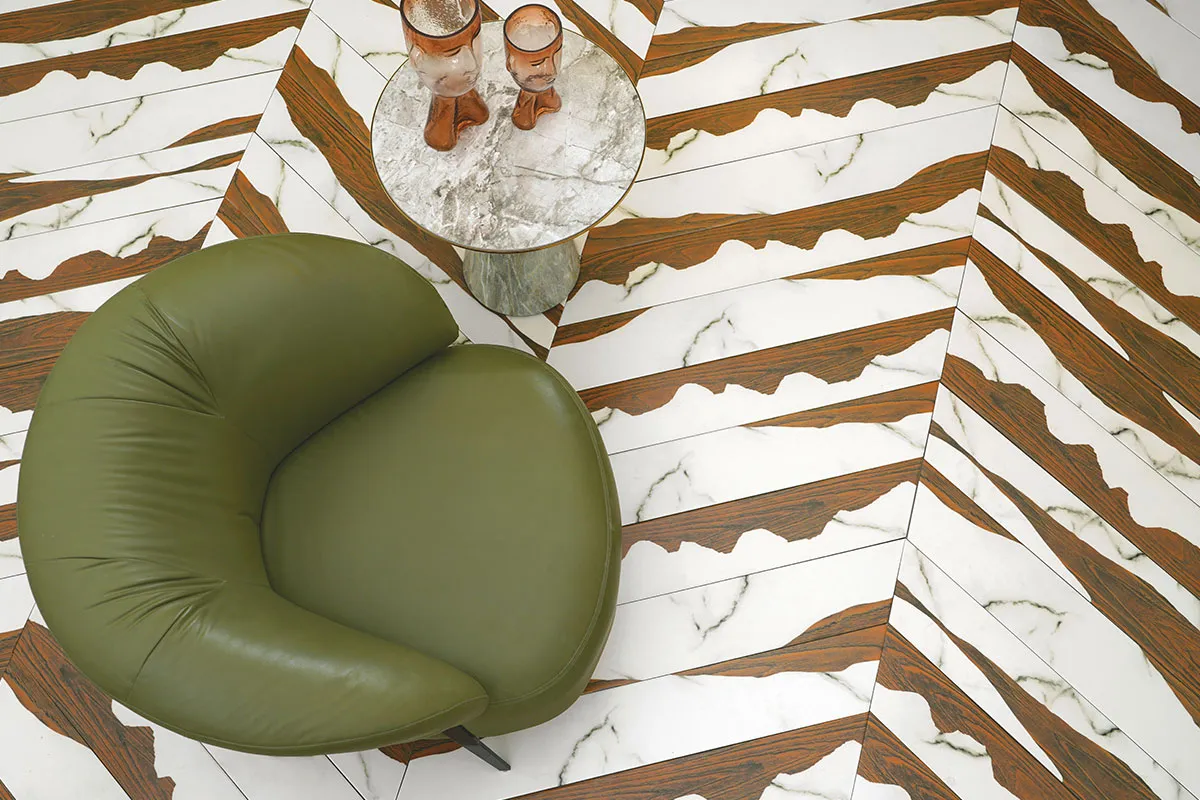
Chevron Pattern Overview:
The chevron structure makes a stunning and dynamic V-shaped zigzag pattern with precisely curved edge tiles. Unlike regular herringbone, chevron tiles' ends are curved at an angle, allowing them to fit together effortlessly and produce a continuous arrow-like pattern.
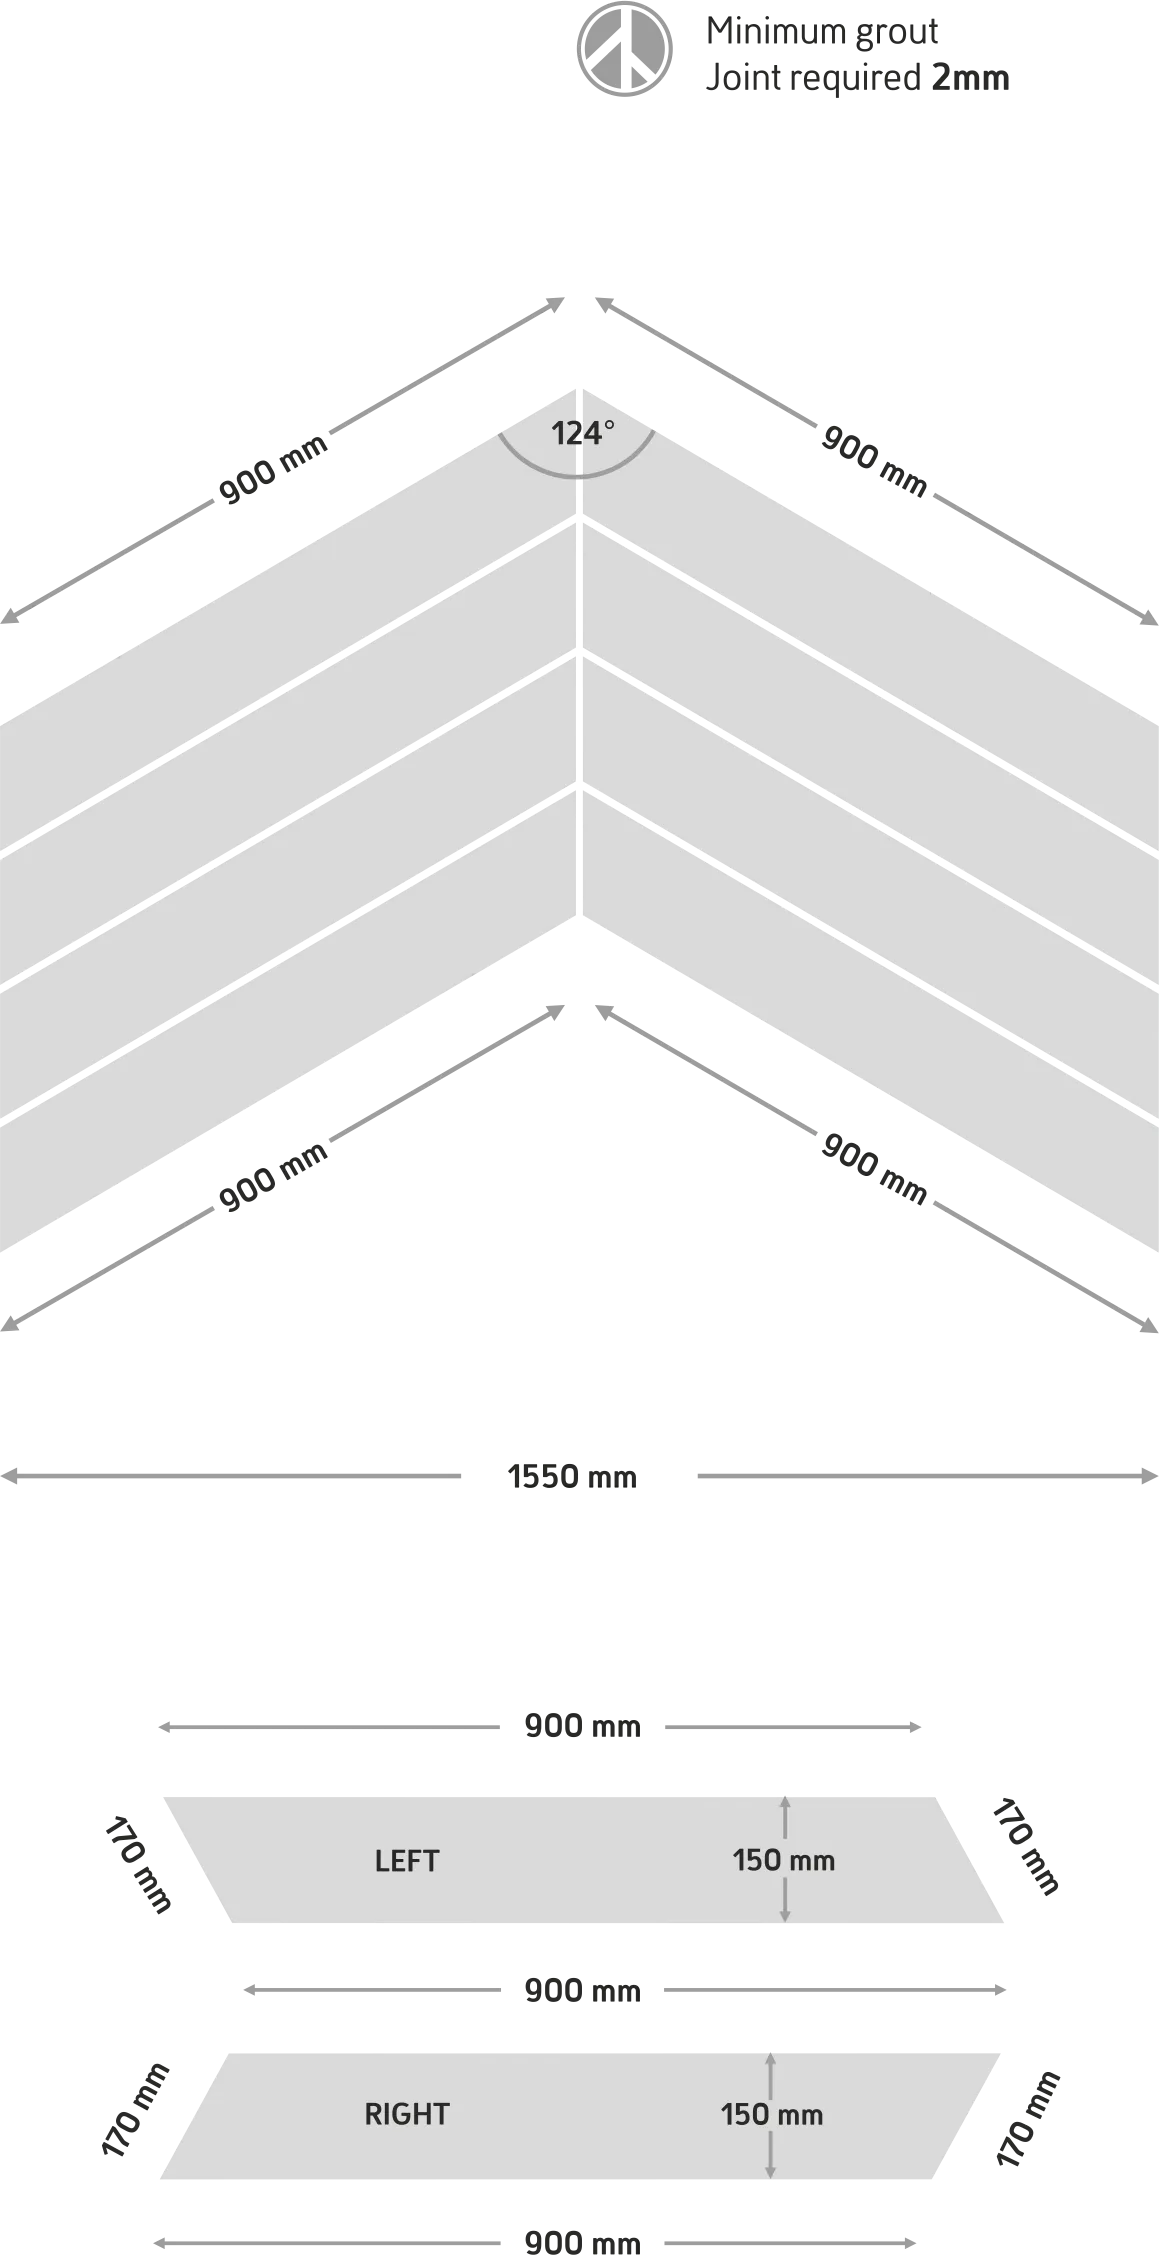
Tile Size and Shape:
- Each tile measures 900 mm long and 150 mm wide.
- To complete the pattern, the angled tiles come in LEFT and RIGHT types.
- The effective width coverage per set is 1550 mm (two 900 mm tiles arranged at an angle).
Laying Instructions:
1. Start from the Center:
- Start laying at the center point where the V-shape meets. This creates a symmetrical and balanced layout.
2. Align Left and Right Tiles:
- Use the LEFT and RIGHT tiles alternately
- To form a seamless chevron V-shape, ensure that their angled ends meet exactly
3. Spacing:
- Maintain a minimum 2 mm grout joint between tiles
- Accurate spacing is critical for creating a clean, professional appearance
4. Continue Outwards:
- Continue laying tiles in both directions to extend the pattern evenly
- Use level guides and spacers to keep straight lines and angles
Contact Us
Secure Your Chevron Tile Collection Kit