

19 November 2026 8 min read
Wood look tiles for staircases: treads, nosing and grip at home
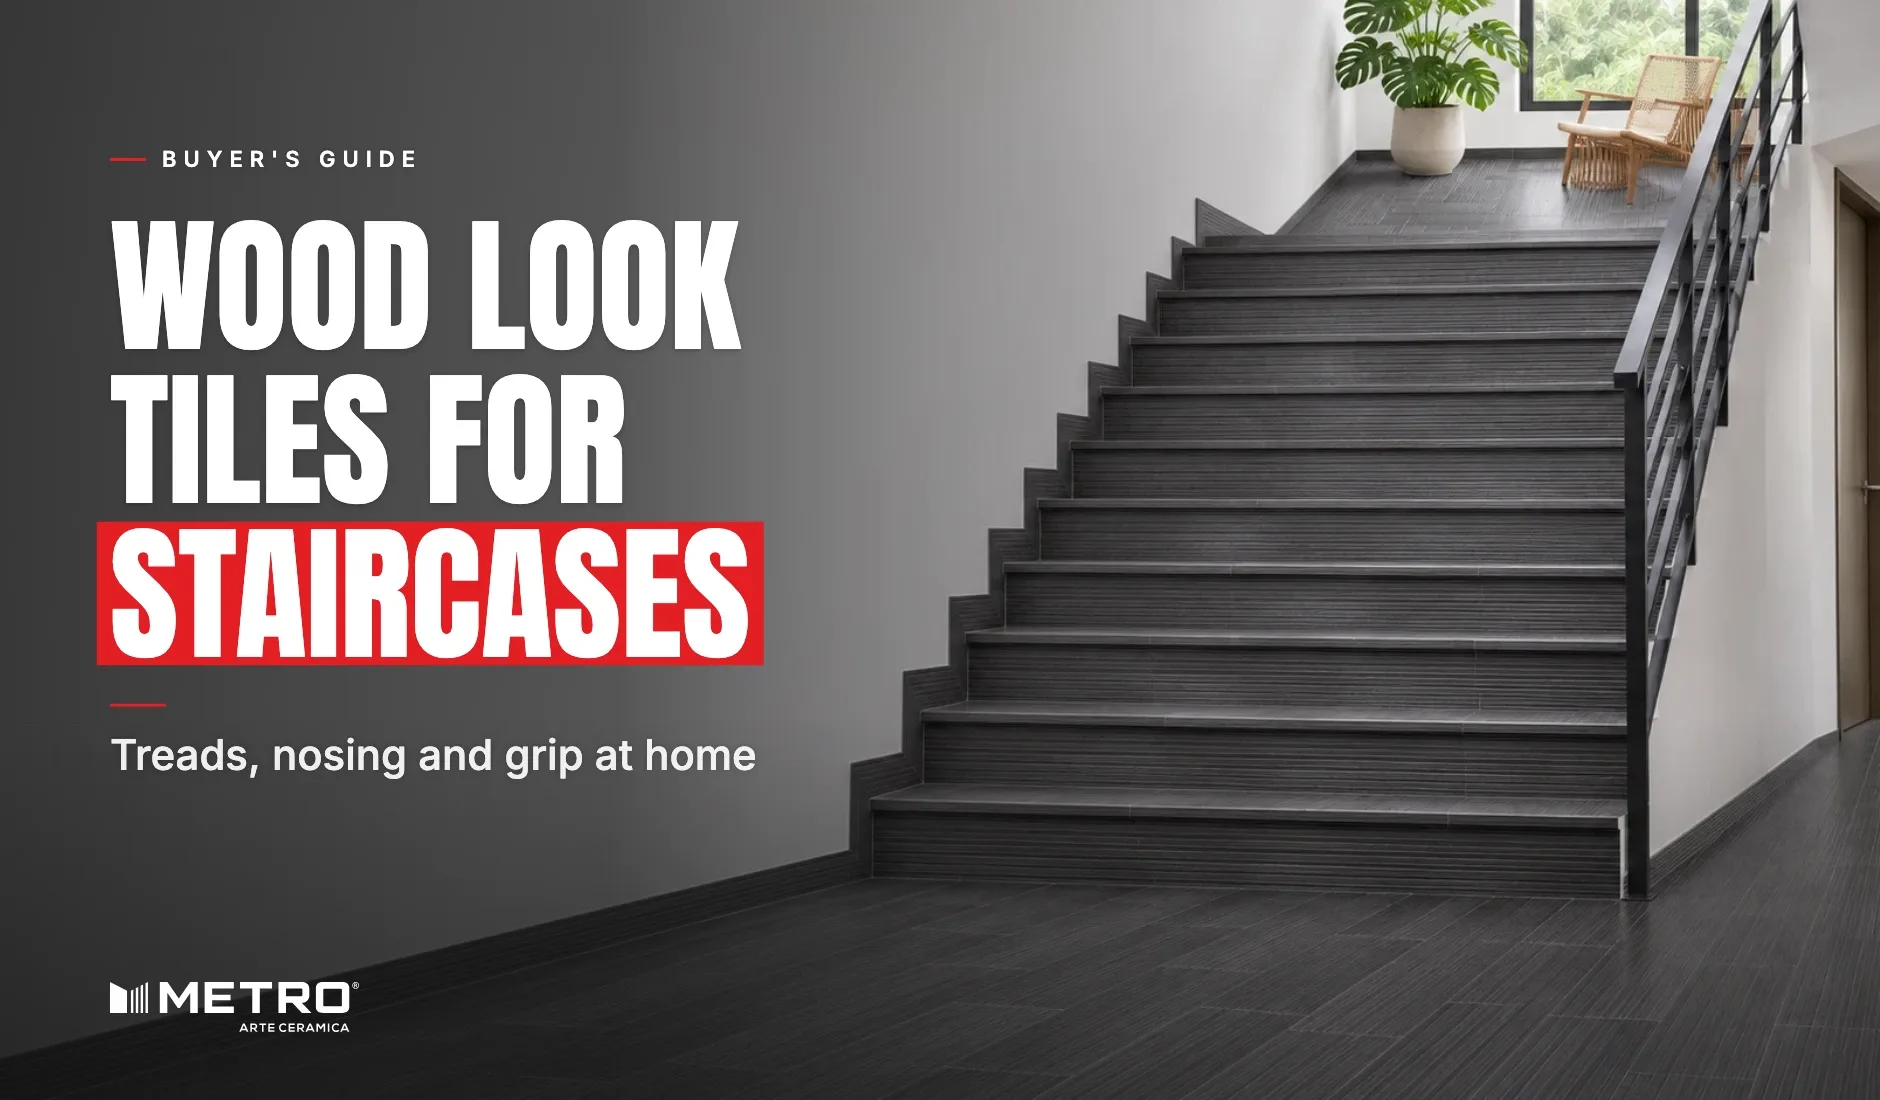
In most terrace houses the staircase rises straight out of the living hall, so it is the second thing a visitor sees after the floor. It is also the place where people fall: children running down in socks, an elderly parent coming down at night, someone carrying laundry with wet feet from the bathroom upstairs. A staircase in wood look tiles can match the hall below and the landing above, but only if the tread, the front edge and the surface are planned together.
This guide covers stairs in terrace houses, semi-Ds and bungalows: which plank to use on the tread, how to finish the nosing, and how to tie the stair into the landing.
Why solid timber stairs are hard work here
Many older terrace houses have chengal or balau treads over a concrete stair. In constant humidity the boards move, and the front edge of each tread, where every foot lands, wears through its varnish first. Re-varnishing means closing the only way upstairs for days. Timber is also exposed to termites; a fired ceramic tile is not.
None of this shows up in the first year. It shows up in years three to five, when the nosing is grey and the gaps between boards are filled with dust.
Choosing the plank for the tread
Run the plank across the stair
Lay each plank along the width of the step, from wall to handrail, the way a timber tread board runs.
150x900mm for a standard stair
The 150x900mm plank spans a 900 mm wide stair in one piece, with no joint in the middle of the step. Two strips usually make up the depth of the tread: a full-width plank at the front and a cut strip behind it against the riser. This is the size most terrace house stairs suit, and it has the most designs (70).
200x1000mm or 200x1200mm for a wider stair
Semi-Ds and bungalows often have wider stairs. Use the 200x1000mm for a stair up to about a metre wide, or the 200x1200mm beyond that, cut to length. The wider plank means fewer strips across the depth of each tread.
The riser
The riser is the vertical face between treads. Cut it from the same design so the grain continues.
The nosing: the edge that matters most
The nosing is the front edge of each tread. It takes the most wear and it is where a foot slips. The UK Health and Safety Executive's guidance on stairs says they should have good slip resistance, particularly at the leading edge, and that marking the leading edge helps people with poor sight. The same thinking applies to a family staircase.
Metro does not make a separate step or bullnose piece, so the front edge needs a plan. Three ways it is usually done:
- A stair nosing profile. A metal profile set into the adhesive at the front of each tread, with the tile butted against it. Products such as Schlüter-TREP-S/-B protect the front edge of the step and carry a replaceable slip-resistant tread insert. This is the option we suggest for a house with children or elderly parents.
- The factory edge at the front. Lay the front plank with its long, mould-formed curve edge facing the nosing, so the edge you stand near is the rounded one, never a sawn cut. It gives no extra grip.
- A mitred joint. Tread and riser cut at 45 degrees to meet in a sharp corner. It looks crisp but leaves a thin ceramic edge exposed to knocks, and we do not recommend it on a busy family stair.
Surface and grip
Use Matt Texture on every stair. It is the low-sheen surface with grain relief you can feel underfoot, and the catalogue recommends it for staircases. Satin Texture suits the living hall, but on a stair the extra relief is worth more than the sheen. Households with elderly parents ask about grip before they ask about colour, and on a staircase that order is right.
Good Matt Texture designs for a stair in 150x900mm include Madera Teak, a warm chestnut tone with 18 random faces, and Merrick Pine, a Golden Honey tone, the warm golden brown of chengal before it silvers.
Light the top and bottom of the stair, and keep a handrail on at least one side.
Matching the landing
The landing is where the stair meets the upstairs floor, and the join shows.
- Same design, same batch. Order the stair, the landing and the upstairs rooms together, from one batch and one calibre code, so the shade does not change at the top step.
- Sizes can differ. A 150x900mm stair can meet 200x1200mm bedrooms in the same design: the Oaklore family and Madera Teak come in every plank size.
- Keep the direction. Run the landing planks the same way as the treads, across the stair, so the floor reads as one surface turning upward. If the corridor beyond runs the other way, change direction at a doorway, not halfway across the landing.
- Pick the faces. Each design has a set number of random faces. On a stair, every tread is seen at once from below, so lay out the pieces first and avoid two identical faces on neighbouring steps.
For the hall below, our guide to wood look tiles in the living hall and bedroom covers size and colour.
Where tile is the wrong choice for a stair
- A stair that flexes. Tile needs a rigid concrete stair. A steel or timber stair that moves underfoot will crack the grout and then the tiles.
- Spiral and winder stairs. Every tread is a different wedge, so a long plank is mostly offcut. The waste is high.
- If you need a tested slip figure. We do not publish a slip rating for our designs. If a project specification asks for one, ask us for it in the enquiry rather than relying on the catalogue.
Installation notes for a tiled staircase
- Full bed under every piece. No hollow spots, especially behind the nosing. Use tile adhesive on both surfaces or a full mortar bed with slurry on the back of the tile.
- Joints of 3 to 5 mm. Use spacers of at least 3 mm between planks; the curve edge is meant to show a joint.
- Arrows one way. Every plank has an arrow on its back. Keep them all pointing the same way on every tread.
- Rubber mallet only. Press tiles by hand or with a rubber mallet, never an iron hammer.
- Let it cure. Leave the bed 3 to 4 days before grouting, and keep foot traffic off the stair while it cures.
- Keep spares. Stairs are cut-heavy. Keep a few planks from the same batch for a chipped tread later.
The short version
Run 150x900mm planks across the tread, finish every front edge with a proper nosing, use Matt Texture throughout, and order the stair with the landing from one batch. The catalogue lists every Matt Texture design by size in the downloadable catalogue. Send us the stair width and the number of steps and we will help you plan the order.
Planning wooden tiles for your home?
Tell us the room and the size you have in mind. Our team replies within 24 to 48 hours, and we can post you a sample first so you can see the surface in your own light.
Frequently asked questions
Can wood look tiles be used on stairs?
Yes, on a rigid concrete stair. Use the Matt Texture surface for grip and finish the front of each tread with a nosing profile so the edge is protected.
Which tile size is best for staircase treads?
150x900mm for most terrace house stairs, because one plank spans a 900 mm wide step without a joint. Wider stairs suit 200x1000mm or 200x1200mm cut to length.
Are tiled stairs slippery?
They can be with a smooth surface. Matt Texture has grain relief that gives more grip, and a nosing with a slip-resistant insert adds grip where the foot lands.
Does Metro make stair nosing tiles?
No. Metro makes plank, chevron and Diamante tiles. The front edge is finished with a metal nosing profile or with the plank's own curve edge at the front.
Should the landing match the stairs?
Yes, use the same design from the same batch and calibre, with the landing planks running the same way as the treads, so the colour does not change at the top step.
How long before we can use a newly tiled staircase?
Leave the bed to cure 3 to 4 days before grouting, then follow your contractor's advice. Keep foot traffic off the stair during that time.