

18 November 2026 7 min read
Herringbone timber look tiles: sizes, layout and where it works
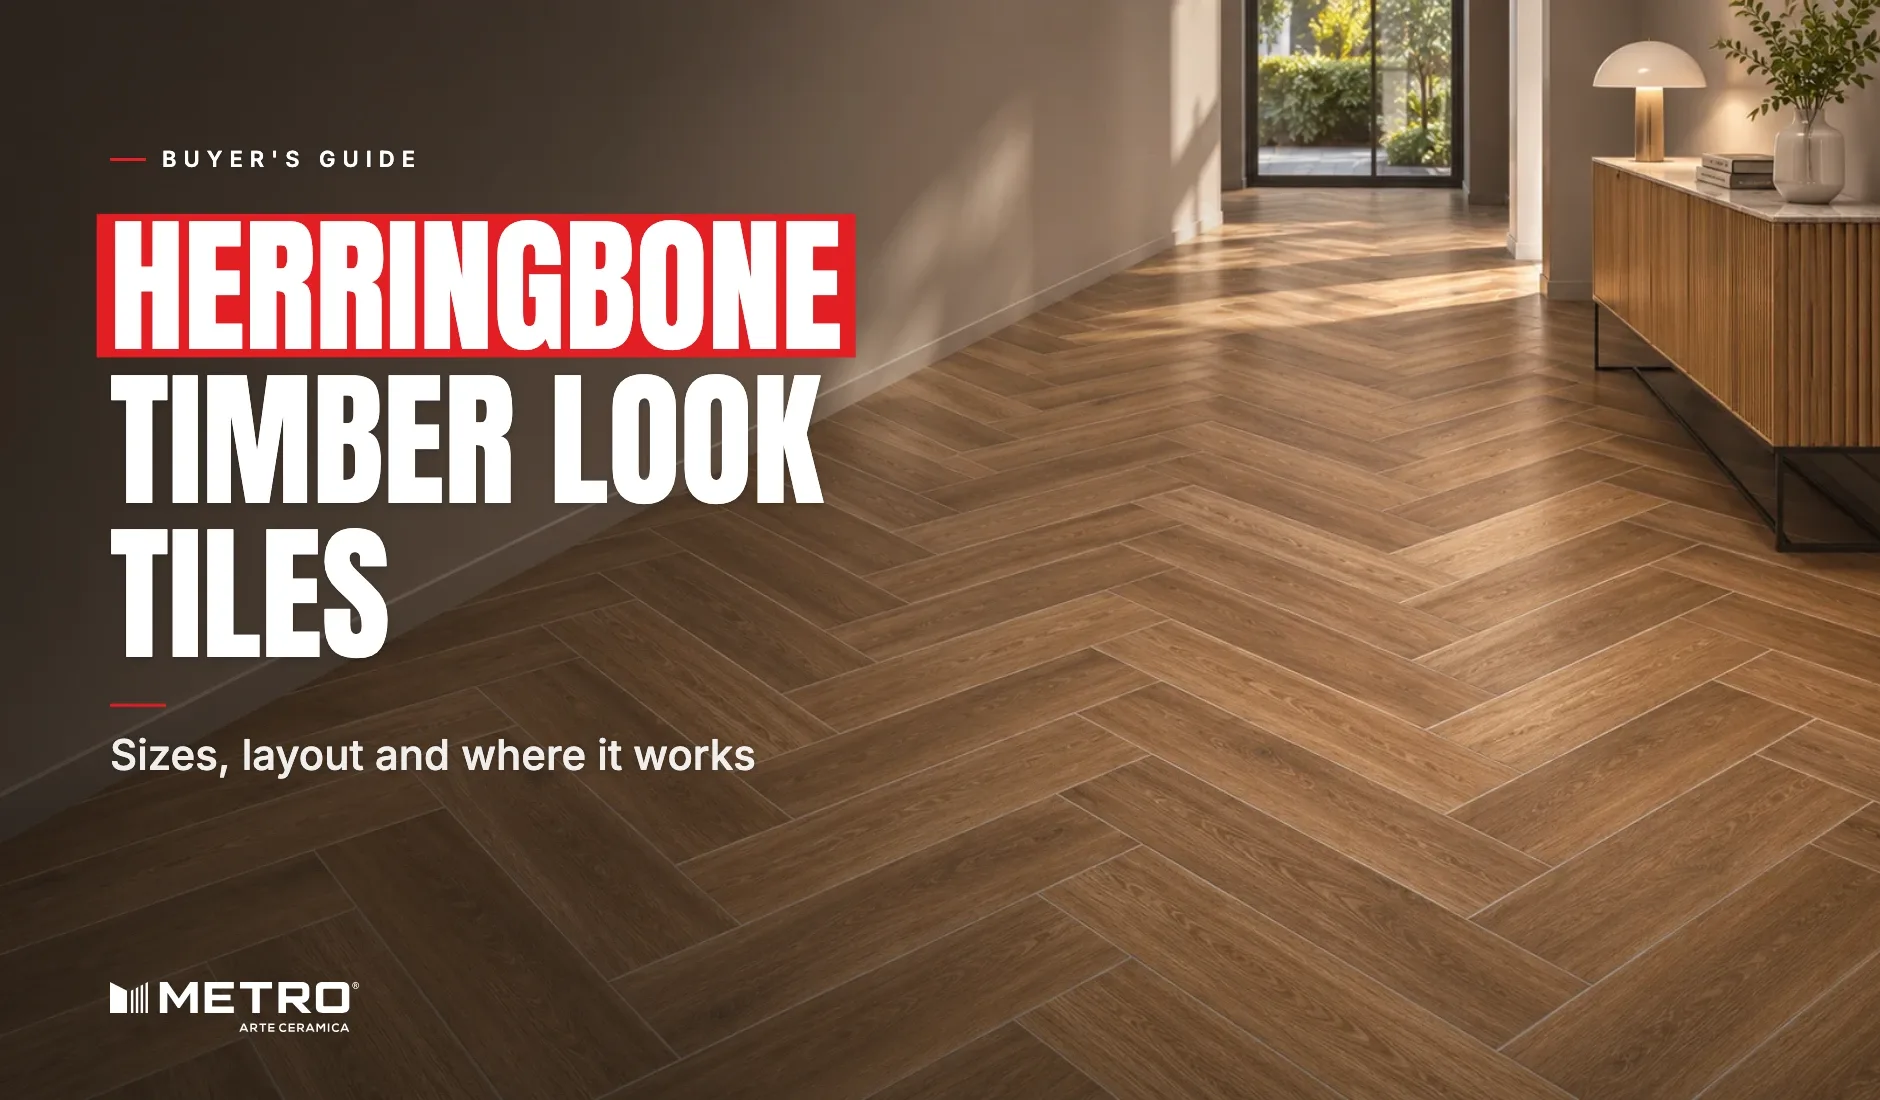
A herringbone floor in the entry of a Federation house is one of the things people photograph before they even look at the rest of the room. Doing it in solid timber means parquet blocks, a specialist layer and a sanding and coating schedule for life. Doing it in tile means choosing the right plank, setting out the pattern properly and accepting a lot more cuts than a straight floor.
Here is which of our timber look tiles suit herringbone, how the layout works, what it does to your order, and where the pattern earns its extra labour.
Herringbone is not chevron
The two are often confused, and they are made differently. Herringbone uses ordinary rectangular planks with square ends. The end of one plank butts against the long side of the next, at 90 degrees, so the zigzag steps.
Chevron uses planks with their ends cut on a slant. A left and a right plank meet point to point on one centre line, so the zigzag is a clean V. Our chevron is a separate collection made with those angled ends in the factory. If the clean V is what you are after, read our chevron flooring pattern guide instead.
Which Metro planks can be laid in herringbone
All four plank sizes can. What changes is the scale of the zigzag. A plank's length divided by its width sets the proportion of each step, and a bigger plank makes a bolder pattern.
150x900mm: the closest to parquet
At 150 mm wide and six times as long, the 150x900mm plank gives the finest herringbone we can offer. It suits hallways, entries and rooms of ordinary size, where a smaller pattern repeats enough times across the floor to read clearly.
200x1000mm: the middle ground
The 200x1000mm plank is five times as long as it is wide, so each step is shorter and chunkier. It works in a living room or a wide hallway.
200x1200mm and 200x1400mm: for big rooms
The 200x1200mm and 200x1400mm planks make a large, bold zigzag. They need a big open-plan room or a long gallery to show more than a couple of repeats.
Designs that hold up in a pattern
In herringbone every plank is seen whole, side by side with its neighbours at right angles, so a design with more random faces repeats less. Madera Teak has 18 faces in 150x900mm and 200x1000mm. The Oaklore family comes in every plank size, with 6 faces on most designs and 12 on Oaklore Wallnut. For a hallway with wet shoes, choose Matt Texture, such as Madera Teak or Oaklore Grigio.
Setting out the pattern
Herringbone looks good when its centre line sits where the eye goes. In a hallway that is the middle of the hall, running its length. In a living room it is usually the longest view, from the front door or along the line of the windows.
- Mark the centre line first. Snap a chalk line down the room and build the zigzag either side of it. Starting from a wall pushes every error to the side people look at.
- Dry lay a section. Lay a metre or two without adhesive and stand back. This is the moment to move the centre line, not after the first bag of adhesive.
- Decide on a border. A straight row of planks around the edge frames the pattern and hides the small triangles at the walls. Without one, the herringbone runs into the skirting.
- Plan the doorways. Where herringbone meets a straight-laid room, the change is cleanest at a door or under a threshold strip.
Cuts, waste and how much to order
Herringbone always sits at an angle to the walls, so every plank that meets a wall is cut on a diagonal. A straight floor has cuts only at the ends of rows. That is the cost of the pattern, in tiles and in the tiler's time.
The coverage calculator on each plank page is set up for a straight floor with 10% added, so do not rely on it for herringbone. Ask your tiler to measure the room against the planned layout and tell you how many boxes the pattern needs. Long offcuts from one wall can often be used on the opposite wall, which a good tiler plans for. Order everything from one batch at the same time, plus a spare box for later repairs.
What your tiler needs to know
- One calibre for the whole floor. Each box carries a calibre code for the plank's exact length, for example S 903 to 905 mm up to A 909 to 911 mm on 150x900mm. In herringbone every end butts into the side of the next plank, so mixed lengths throw the pattern off within a few rows.
- Joints of 3 to 5 mm. Our planks have a curve edge formed in the mould, so use spacers of at least 3 mm. The rounded edge gives each plank a soft shadow line, which suits the stepped zigzag.
- Full adhesive cover. Ardex notes that AS 3958.1, the Australian guide to installing ceramic tiles, sets minimum adhesive coverage, with 80% as the effective minimum and the tile pressed and slid across the notches. The pointed ends of a herringbone plank need that support most.
- Keep the arrows in order. Every plank has an arrow on its back. Agree with your tiler how the arrows sit in each of the two directions before the first plank goes down.
- Leave the perimeter free. Schlüter explains that perimeter joints may not be filled rigidly. A border row does not change that.
- Cure before grouting. Let the bed cure 3 to 4 days before grouting, then clean off excess grout as you go.
Every size is in our downloadable catalogue.
Where herringbone works and where it does not
It works where there is a clear axis and some open floor: entries, hallways, dining rooms and living rooms where the sofa leaves the middle clear. Covered alfresco areas work too. Every Metro design can be used outdoors; use Matt Texture there.
It works less well in a small bathroom, where the vanity, toilet and floor waste break the pattern into offcuts. A kitchen with an island leaves narrow strips of herringbone on each side, and a laundry is mostly cabinets. In those rooms a straight floor in the same design, with Metro's quarter-plank offset, looks calmer and costs less.
The short version
Pick herringbone for the room people walk into first, use the plank size that fits the room's width, and budget for the extra cuts. Ask us for samples in two sizes and lay a few planks on the floor at right angles before you decide.
Planning timber look tiles for your home?
Tell us the room and the size you have in mind. Our team replies within 24 to 48 hours, and we can post you a sample first so you can see the surface in your own light.
Frequently asked questions
Can timber look tiles be laid in herringbone?
Yes. Herringbone uses ordinary rectangular planks with square ends, so any of our four plank sizes can be laid in the pattern. It needs careful setting out and more cuts than a straight floor.
What size tile is best for a herringbone floor?
For hallways and rooms of ordinary size, 150x900mm gives the finest pattern, closest to parquet. The 200x1200mm and 200x1400mm planks make a bolder zigzag and need a large room to show it.
Does herringbone use more tiles than a straight floor?
Yes. Every plank that meets a wall is cut on an angle, so there is more waste. Ask your tiler to measure the room against the layout rather than using a straight-lay calculation.
What is the difference between herringbone and chevron tiles?
Herringbone uses rectangular planks whose ends butt against the side of the next plank, so the zigzag steps. Chevron uses planks with angled ends that meet in a point, so the zigzag is a clean V.
Can a herringbone tile floor go outside?
Yes. Every Metro design can be used outdoors, including in herringbone. Choose a Matt Texture design for grip and make sure the area has a proper fall so water drains away.
Can herringbone run into a room with straight-laid tiles?
Yes. Use the same design in both rooms and make the change at a doorway or under a threshold strip. A border row of straight planks around the herringbone also makes the join look planned.