

21 September 2026 11 min read
Wood Look Tile for Showers: A Waterproofing and Design Guide
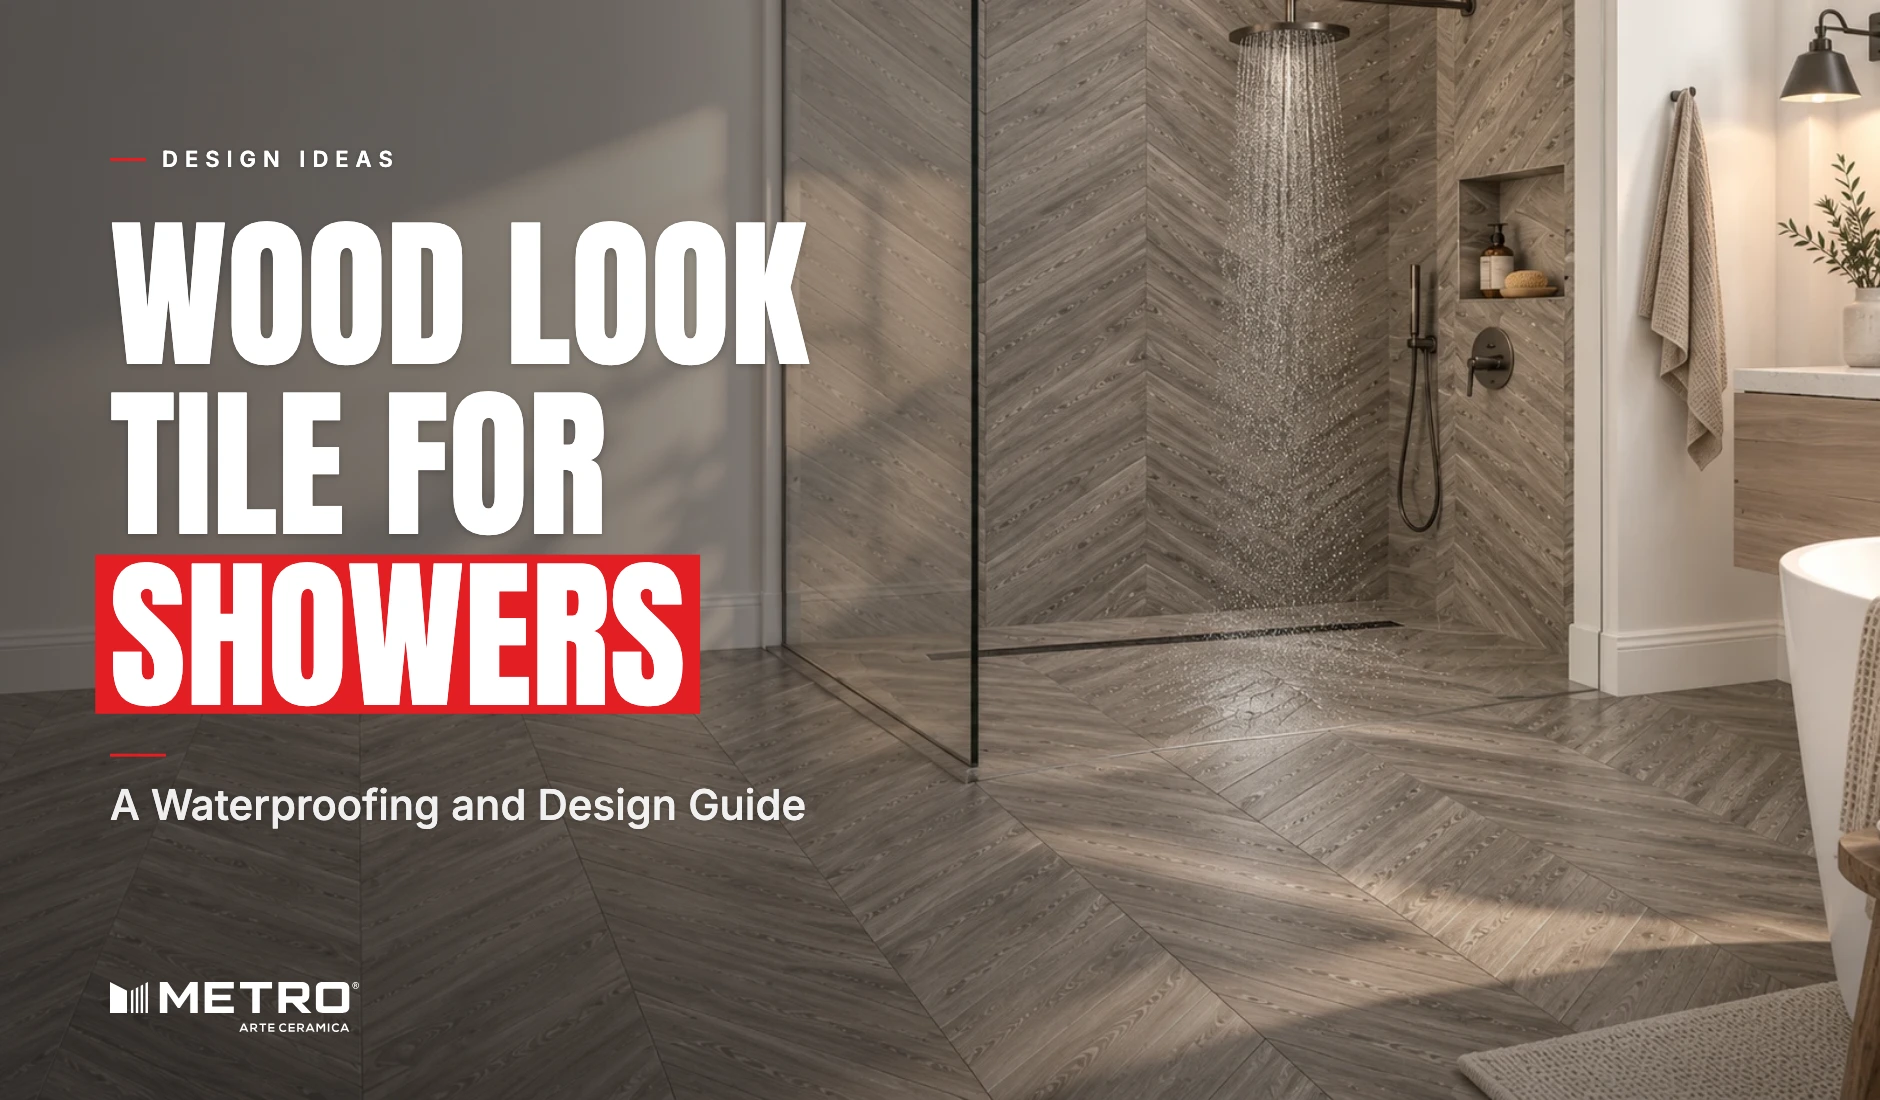
A wood look tile shower that fails almost never fails at the tile. It fails behind it. Water gets past the grout, reaches the substrate, saturates the cement board or drywall, and by the time you notice (a soft spot in the wall, a stain on the ceiling below, a mildew smell that will not go away), the damage is already expensive.
The tile is the easy part. The waterproofing, drain placement, and grout selection are what determine whether the shower still looks good and functions properly five years from now. This guide covers the installation layer: the decisions that happen before and during the tile going up, not just after.
For a broader overview of wood look tile across the entire bathroom (floors, vanity areas, general specs), see the full bathroom guide. This article goes deeper on the shower itself.
Tile shower waterproofing: the layer that actually keeps water out
Here is something that surprises a lot of homeowners: ceramic and porcelain tile are not waterproof barriers on their own. They are water resistant surfaces. The real waterproofing happens underneath, at the substrate level, before a single tile goes on the wall or floor.
Shower waterproofing membrane options
Three systems dominate the US market. Each works differently.
Sheet membrane (Schluter Kerdi and similar)
A polyethylene sheet bonded directly to the cement board with unmodified thinset. The membrane creates a continuous waterproof envelope around the shower. Seams are overlapped and sealed with Kerdi Band. This is the system most tile contractors trust for full shower enclosures because there is no drying time and no application variables. If the seams are overlapped correctly, it does not leak. Schluter Systems publishes detailed installation manuals for every Kerdi component.
Liquid applied membrane (RedGard and similar)
A thick liquid rolled or brushed onto cement board in two coats. Each coat needs to cure before the next one goes on, and the total thickness needs to reach the manufacturer's spec (typically 55 to 60 mils when dry). Custom Building Products makes RedGard, which is the most common liquid membrane in the US.
The advantage: it seals around corners, pipes, and irregular shapes without cutting sheet material. The risk: if one coat is too thin or not fully cured, the weak spot leaks.
Foam panel systems
Pre waterproofed foam boards (like Schluter Kerdi Board or Wedi Board) that replace cement board entirely. The panel itself is the substrate and the waterproof layer in one piece. Joints are sealed with waterproof tape or sealant. Fastest to install, most expensive per square foot, and the most forgiving for installers because there is no separate membrane step to get wrong.
Where the membrane needs to go
This is where shortcuts cause failures. The membrane must cover:
Every wall surface inside the shower enclosure, floor to ceiling. Not just the "wet wall" under the showerhead. Water spray, steam, and splash hit every surface.
The shower floor, with the membrane extending up the walls at least 3 inches (75mm) above the curb height and lapping over the curb itself.
The shower curb, top and both sides. Water sits on and runs along the curb constantly. An unwrapped curb is the single most common leak point in US shower construction.
Around every penetration: mixing valve, showerhead pipe, body jets, niches. Each penetration gets sealed individually.
The Tile Council of North America publishes the TCNA Handbook with detailed waterproofing specs for each shower assembly type. Worth referencing if your contractor has not done a fully waterproofed wood look tile shower before.
How drain placement changes with wood look tile for showers
Standard square shower floors use a centre drain. Tile is cut in a triangular pattern radiating from the drain, creating a four way slope. This layout works fine with small mosaic tile or square tile. With plank tile, it creates a mess.
A 6"x36" (150x900mm) plank cut into triangles around a centre drain looks exactly like what it is: long planks hacked into odd shapes. The wood grain pattern breaks at every cut. The illusion is gone.
Linear drains solve this
A linear shower drain runs along one wall (usually the back wall or the entry wall) as a single long channel. The shower floor slopes in one direction only, toward the drain. That single direction slope means plank tiles can run their full length without being cut into triangles or tapered wedges.
The linear shower drain tile insert type is cleanest. The drain channel sits flush with the surrounding tile, and a narrow slot runs along one edge. From a few feet away, the drain almost disappears into the floor.
For a wood look tile shower floor, position the linear drain along the shorter wall so the planks run perpendicular to it. This keeps the planks at their full length across the visible floor. If the drain runs along the long wall, the planks run parallel to it and must be cut to width at the drain edge, which is more visible.
Centre drains still work (with a catch)
If a centre drain is already in place and moving it is not in the budget, you can still use wood look plank tile on the shower floor. Use 150x900mm (6"x36") planks or smaller and accept that cuts around the drain will break the wood grain pattern in that 12 inch radius. Some installers set a small section of mosaic or pebble tile around the centre drain as a border, then run the planks from the border outward. It is a compromise, but an honest one.
Wood look tile shower walls: where the design happens
The walls are where a wood look tile shower goes from "nice tile" to "that looks incredible." Floors take all the technical attention, but walls carry the visual weight.
Vertical vs horizontal plank orientation
Vertical planks (running floor to ceiling) make the shower feel taller. This works well in standard 8 foot (2.4m) ceiling showers where the enclosure can feel boxy. The eye follows the grain upward, and the space opens.
Horizontal planks make the shower feel wider. Better for narrow showers (30 to 36 inches / 760 to 900mm wide) where the enclosure feels tight. The horizontal lines stretch the visual width.
Pick one. Do not mix orientations on different walls of the same shower. It looks confused rather than designed.
Full enclosure vs accent wall
A full enclosure (all three walls in wood look tile) creates an immersive wood cabin feel. It works best with lighter tones (bleached oak, ash, natural pine) because dark wood on every surface can make a shower feel like a cave.
A single accent wall (the back wall, facing you when you enter) with the remaining walls in a complementary solid tile is the more common approach. It reads as intentional, uses less wood look tile, and lets you put a bolder finish on the accent wall without overwhelming the space.
The 80x450mm (3"x18") chevron collection on a shower accent wall, with straight planks on the side walls, creates a focal point that draws the eye the moment someone steps in.
Shower floor: what absorption actually tells you
The shower floor holds standing water. Steam condenses on it. It never fully dries between uses in a household that showers daily, so it is fair to ask what the absorption figure means for that surface.
Porcelain absorbs under 0.5% through the body. Metro's glazed ceramic absorbs 6% to 8%. That figure describes the body beneath the glaze, and it is the fired glaze that meets the water, the cleaner and the foot. Both are water resistant surfaces rather than waterproof barriers, which is why the membrane underneath does the real work.
Metro's planks are approved for wet areas and outdoor floors, shower floors included. For a shower floor the decisions that matter more than the absorption number are the surface and the drain: use a Matt Texture design, because the grain relief is what gives grip underfoot when wet, and set a linear drain so the planks run full length. Ask your supplier for the tested slip figure for the exact design before you commit.
Grout for a wood look tile shower
Every grout joint in a shower is a potential water entry point. In a shower, grout is not cosmetic. It is part of the waterproofing system.
Epoxy grout (the shower standard)
Epoxy grout is waterproof out of the box. It does not need sealing, does not absorb moisture, and resists mold and mildew growth. It is harder to work with than cementitious grout (shorter open time, stiffer consistency, requires more cleanup during installation), and it costs roughly twice as much per bag. In a shower, that extra cost is justified because the alternative is regrouting or dealing with mold within a few years.
Cementitious grout (needs sealing)
Standard sanded or unsanded cementitious grout absorbs water unless sealed. If you use it in a shower, seal every joint before the first use and reseal every 12 to 18 months. Miss a resealing cycle and water starts penetrating the grout, reaching the substrate, and undermining the waterproofing you spent good money on.
Color matching matters
Use a grout color that matches or closely approximates the wood look tile. A contrasting grout (white grout with dark wood tile) highlights every joint line and turns the shower wall into a visible grid rather than a wood surface. Color matched grout in warm tan, medium brown, or grey (depending on the tile tone) makes the planks read as continuous boards.
Shower niche construction with wood look plank tile
A recessed shower niche for shampoo bottles and soap is standard in most US showers. With wood look plank tile, the niche needs a few specific considerations.
Keep the niche width sized to the tile. A niche that is 12 inches (305mm) or 24 inches (610mm) wide avoids cutting a plank mid pattern. Odd widths like 14 inches mean a visible cut through the wood grain.
Waterproof every interior surface of the niche individually, including the ceiling of the niche. Water hits the back wall, runs down to the sill, and sits there. If the sill is not waterproofed and sloped slightly forward (about 1/8 inch or 3mm pitch toward the shower), water pools in the niche and eventually penetrates behind the tile.
Tile the niche interior with the same wood look tile or a coordinating accent tile. Match the grout to the surrounding wall.
Curbless showers and wood look tile
Curbless (barrier free, zero threshold) showers are trending in US new construction and ADA compliant renovation. The shower floor transitions directly to the bathroom floor with no step.
This creates both a design opportunity and a waterproofing challenge.
The opportunity: running the same wood look plank tile from the bathroom floor into the shower floor creates a seamless visual transition. The entire wet area reads as one continuous wood floor. It looks spectacular.
The challenge: without a curb to contain water, the shower waterproofing membrane must extend across the entire bathroom floor, not just the shower enclosure. The linear drain must be sized to capture all water before it reaches the bathroom threshold. The floor slope must be precise enough to direct water to the drain without creating a visible dip that feels uneven underfoot.
A curbless wood look tile shower is not a DIY project. It requires an installer experienced specifically in barrier free wet room construction.
Planning a wood look tile shower? Request samples and test the finish, texture, and color against your shower lighting before your installer starts work.
Frequently asked questions
Do I need to waterproof a wood look tile shower?
Yes. The waterproofing membrane behind the tile is what keeps water out of the wall cavity. Tile and grout alone are not waterproof. Sheet membrane, liquid membrane, or foam panel systems all work.
What drain works best with wood look plank tile?
A linear drain along the shorter wall. It allows the plank tiles to run their full length without being cut into triangles around a centre point drain.
Should I run shower wall planks vertical or horizontal?
Vertical makes the shower feel taller. Horizontal makes it feel wider. Pick based on what the space needs. Do not mix both in the same shower.
What grout is best for a wood look tile shower?
Epoxy grout. It is waterproof, mold resistant, and does not need resealing. Color match it to the tile for the most natural wood look.
Can Metro's ceramic tiles be used in a shower?
Yes, on the walls and the floor. Walls get splash; a shower floor holds standing water, so use a Matt Texture design there for grip and pair it with a linear drain. Whichever tile you choose, the waterproofing membrane behind it is what keeps water out of the structure.
How wide should a shower niche be with plank tiles?
12 inches (305mm) or 24 inches (610mm) to align with standard tile widths and avoid cutting through the wood grain pattern. Waterproof and slope the niche sill forward.